How to Add a Ghost to Your Photo in Luminar NEO

By Jakub Bors, Professional Landscape Photographer & Luminar Neo Ambassador
Adding a ghost to your Halloween photos is much easier than most photographers think. With just a few simple steps in Luminar NEO, you can create anything from a subtle, almost-hidden phantom to a bold, cinematic spirit drifting through your scene. The best part? This technique works on any image and takes only a few minutes, even if you’re a beginner.
In this post, I’ll walk you through a simple 5-step method for adding ghosts to your photos, plus share some of my favourite spooky tools to make the effect even more convincing.
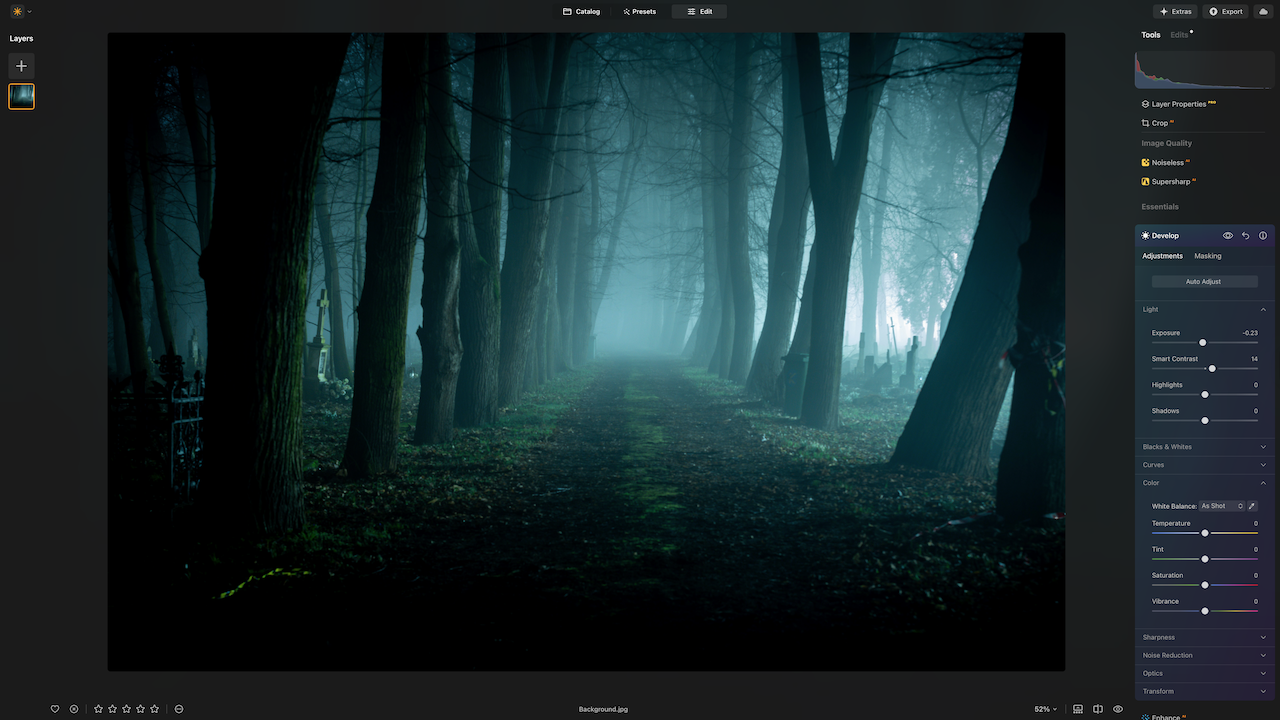
Step 1: Darken the Base Image
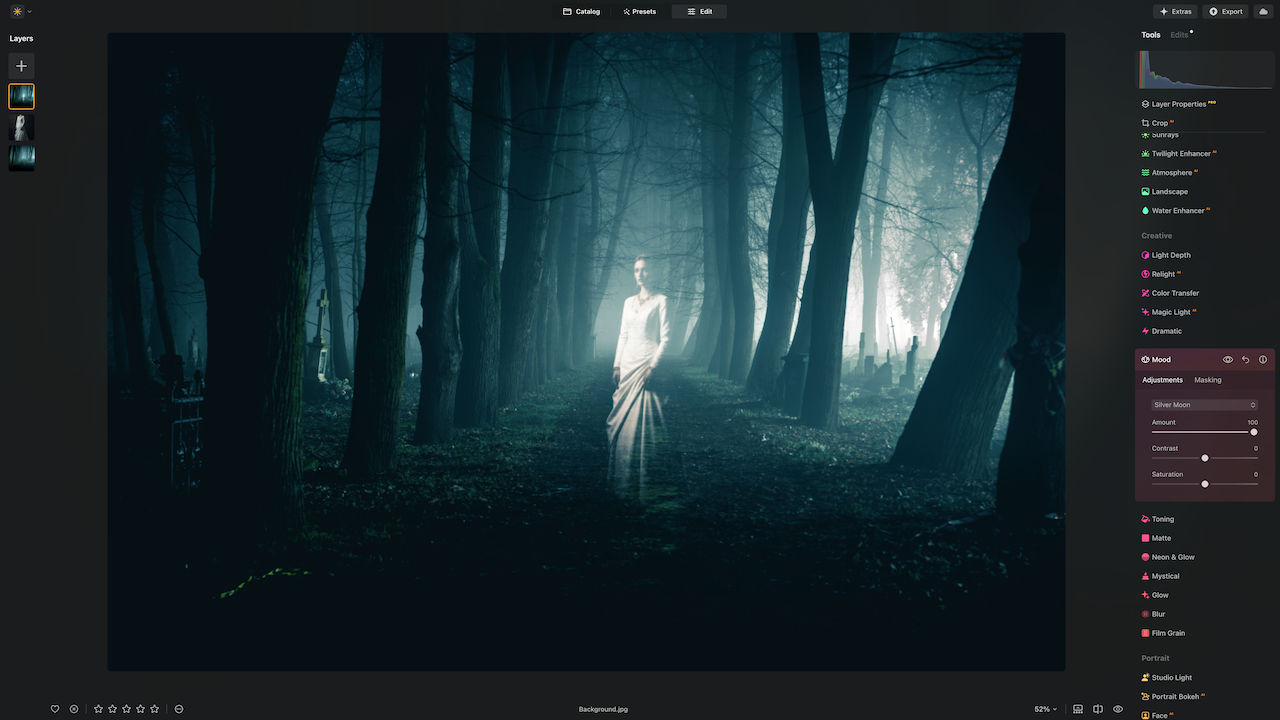
Before adding a ghost, it helps to create an atmospheric background. Lower the exposure slightly or reduce the highlights to make your scene feel moodier.
A darker base gives your ghost something to “sit” on, making it appear like it’s part of the environment rather than floating unnaturally on top. Even small adjustments to shadows or contrast can make a big difference.
💡 Pro tip: If you want a very eerie effect, try combining a subtle vignette with lowered saturation to set a mysterious mood.
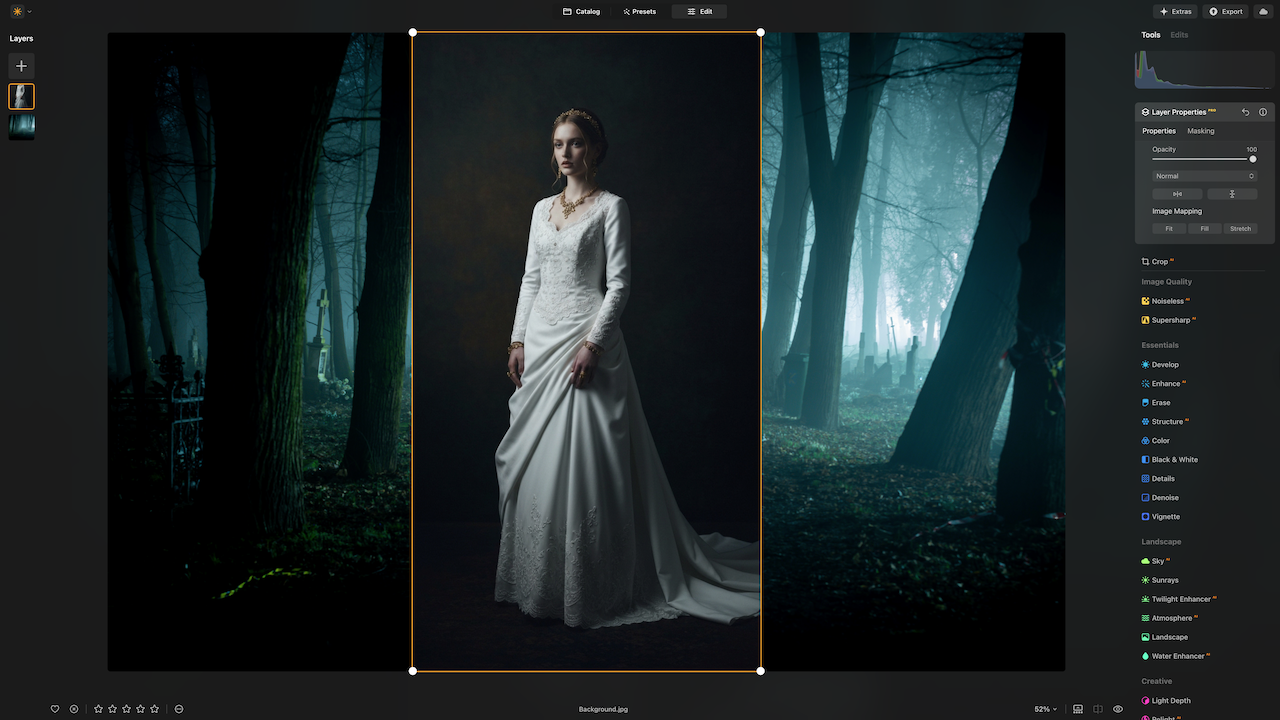
Step 2: Add Your Ghost Image
Next, import your ghost, phantom, or silhouette onto a new layer. Dark backgrounds work best, because they blend more cleanly when you adjust the blend mode in the next step.
You can use your own cutouts, or explore pre-made overlays. For example, our Ghostly Phantom Overlays include mist, haze, and spectral layers that create believable phantoms without the fuss of complicated selections.
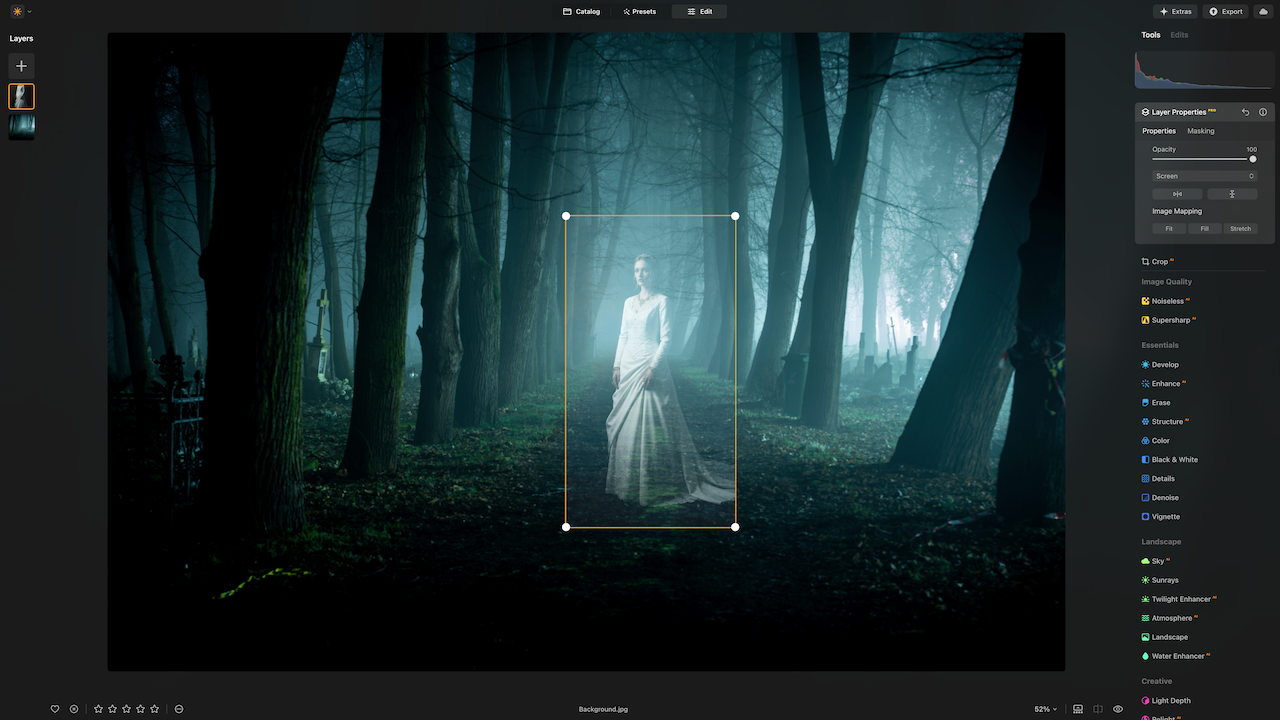
Step 3: Change the Blend Mode
This is where the magic happens. Switch your ghost layer to Lighten or Screen blend mode to remove the dark background and reveal only the glowing figure.
This step instantly integrates your ghost into the scene. Don’t worry if it looks too bright at first, you can refine it in the next step.
💡 Pro tip: If your ghost looks too strong, lower the layer opacity gradually until it blends naturally.
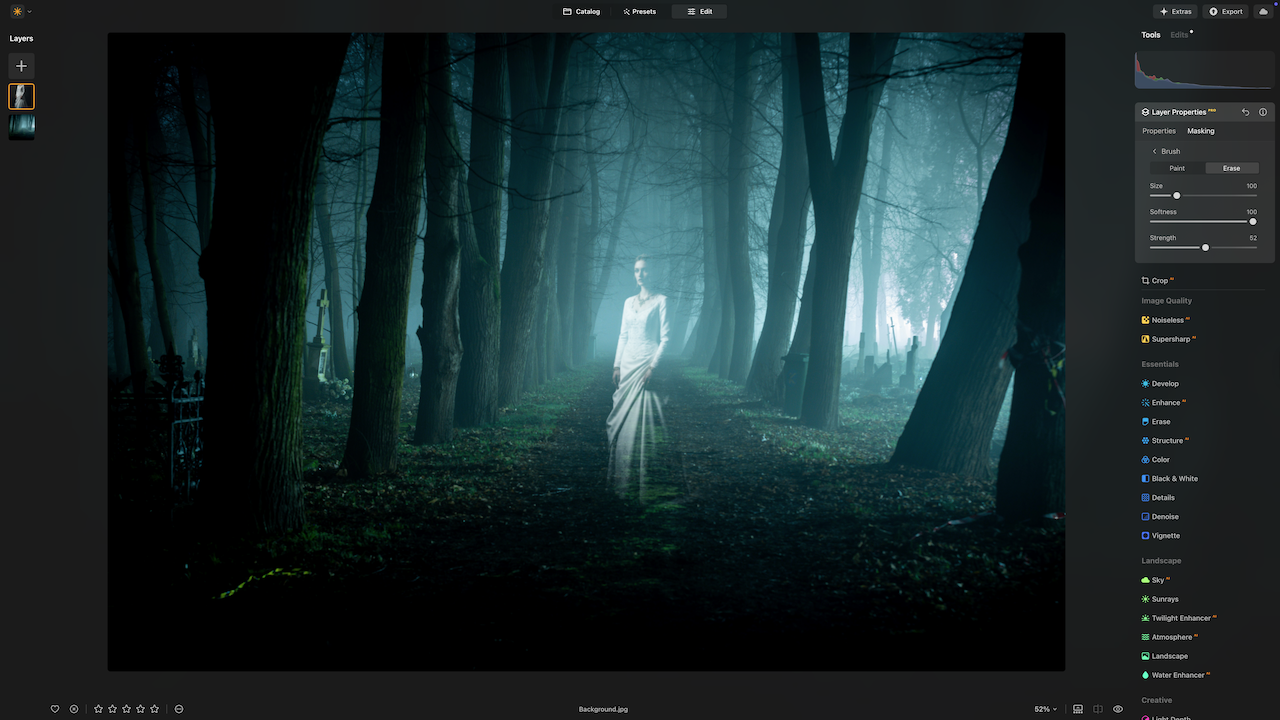
Step 4: Refine with Masking
Use a soft brush to mask out any unwanted edges or areas. This ensures your ghost feels like it’s part of the scene, not just pasted on top.
You can also use masking to hide parts of the ghost behind objects, like trees or furniture, which adds realism and depth.
Step 5: Apply Finishing Touches
Finally, merge the look with subtle color grading. Luminar NEO makes this easy: add a cinematic feel with presets, LUTs, or overlays.
Some of my favourite spooky packs include:
-
Haunted Look Presets — soft glow, lifted shadows, and eerie mood
-
Cursed & Forgotten Presets — gritty contrast and desaturated texture
-
Enchanted Fade LUTs — dreamy cross-tones and cinematic fade
-
Dark Cinema LUTs — moody blue-green grading perfect for night scenes
Using these tools, you can add subtle hints of color, glow, or mist to make your ghost feel like a natural part of the scene.
💡 Pro tip: Even small additions like fog overlays or a faint cinematic LUT can make your ghost truly haunting.
Bonus: Take Your Ghosts to the Next Level
If you want to master spooky photo edits this Halloween, check out our Spooky Halloween Course, a one-hour deep dive into ghostly effects, cinematic color grading, and eerie atmospheres. It’s designed for beginners and hobbyists, so you can follow along even if you’ve never edited a ghost before.
Plus, our Halloween collections of presets, LUTs, and overlays give you endless ways to create creepy, cinematic effects with just a few clicks.
✨ Get your favourite pack and start adding ghosts to your photos today!
Adding ghosts is a fun way to practice creative editing and experiment with layers, blend modes, and color grading. With Luminar NEO and the right overlays or LUTs, you can create convincing phantoms in minutes and have a lot of fun in the process.
Happy spooky editing!
Jakub Bors