Aperty: How to use Black & White tool
Oct 03, 2024
The Black & White tool in Aperty offers a powerful way to turn your colour portraits into timeless, high-contrast works of art. With precise control over colour luminance and selective saturation, you can craft dramatic black-and-white images while highlighting key elements with subtle pops of colour. Whether aiming for bold contrasts or soft, moody tones, this tool gives you everything you need to create striking monochrome portraits with artistic flair.
🎓 Learn everything there is to know about Aperty with our Aperty Masterclass 👉 Learn More
🛒 TIP: Speed up your portrait editing with our Professional Portrait LUT Bundle 👉 Learn More
📸 Aperty: Find out more about Aperty 👉 Here
In this article:
- What is the Black & White Tool
- Introducing Black & White Tool controllers
- Getting started with the Black & White tool
- Black & White Tool - Video Tutorial
- Aperty
What is the Black & White Tool
The Black & White tool in Aperty is designed to give photographers precise control over the monochrome conversion process. It allows you to selectively adjust the brightness of individual colour channels, such as red, green, and blue, ensuring each photo element is accurately represented in grayscale. Additionally, the tool offers the option to bring back touches of colour through saturation control, giving you the ability to create subtle, selective colour effects. Ideal for photographers looking to emphasize tone, contrast, and structure, this tool offers both creative freedom and technical precision for crafting timeless black-and-white portraits.
Introducing Black & White Controllers
Convert to B&W Button
Click this button to instantly switch between the colour and black-and-white versions of your image.
Luminance Sliders
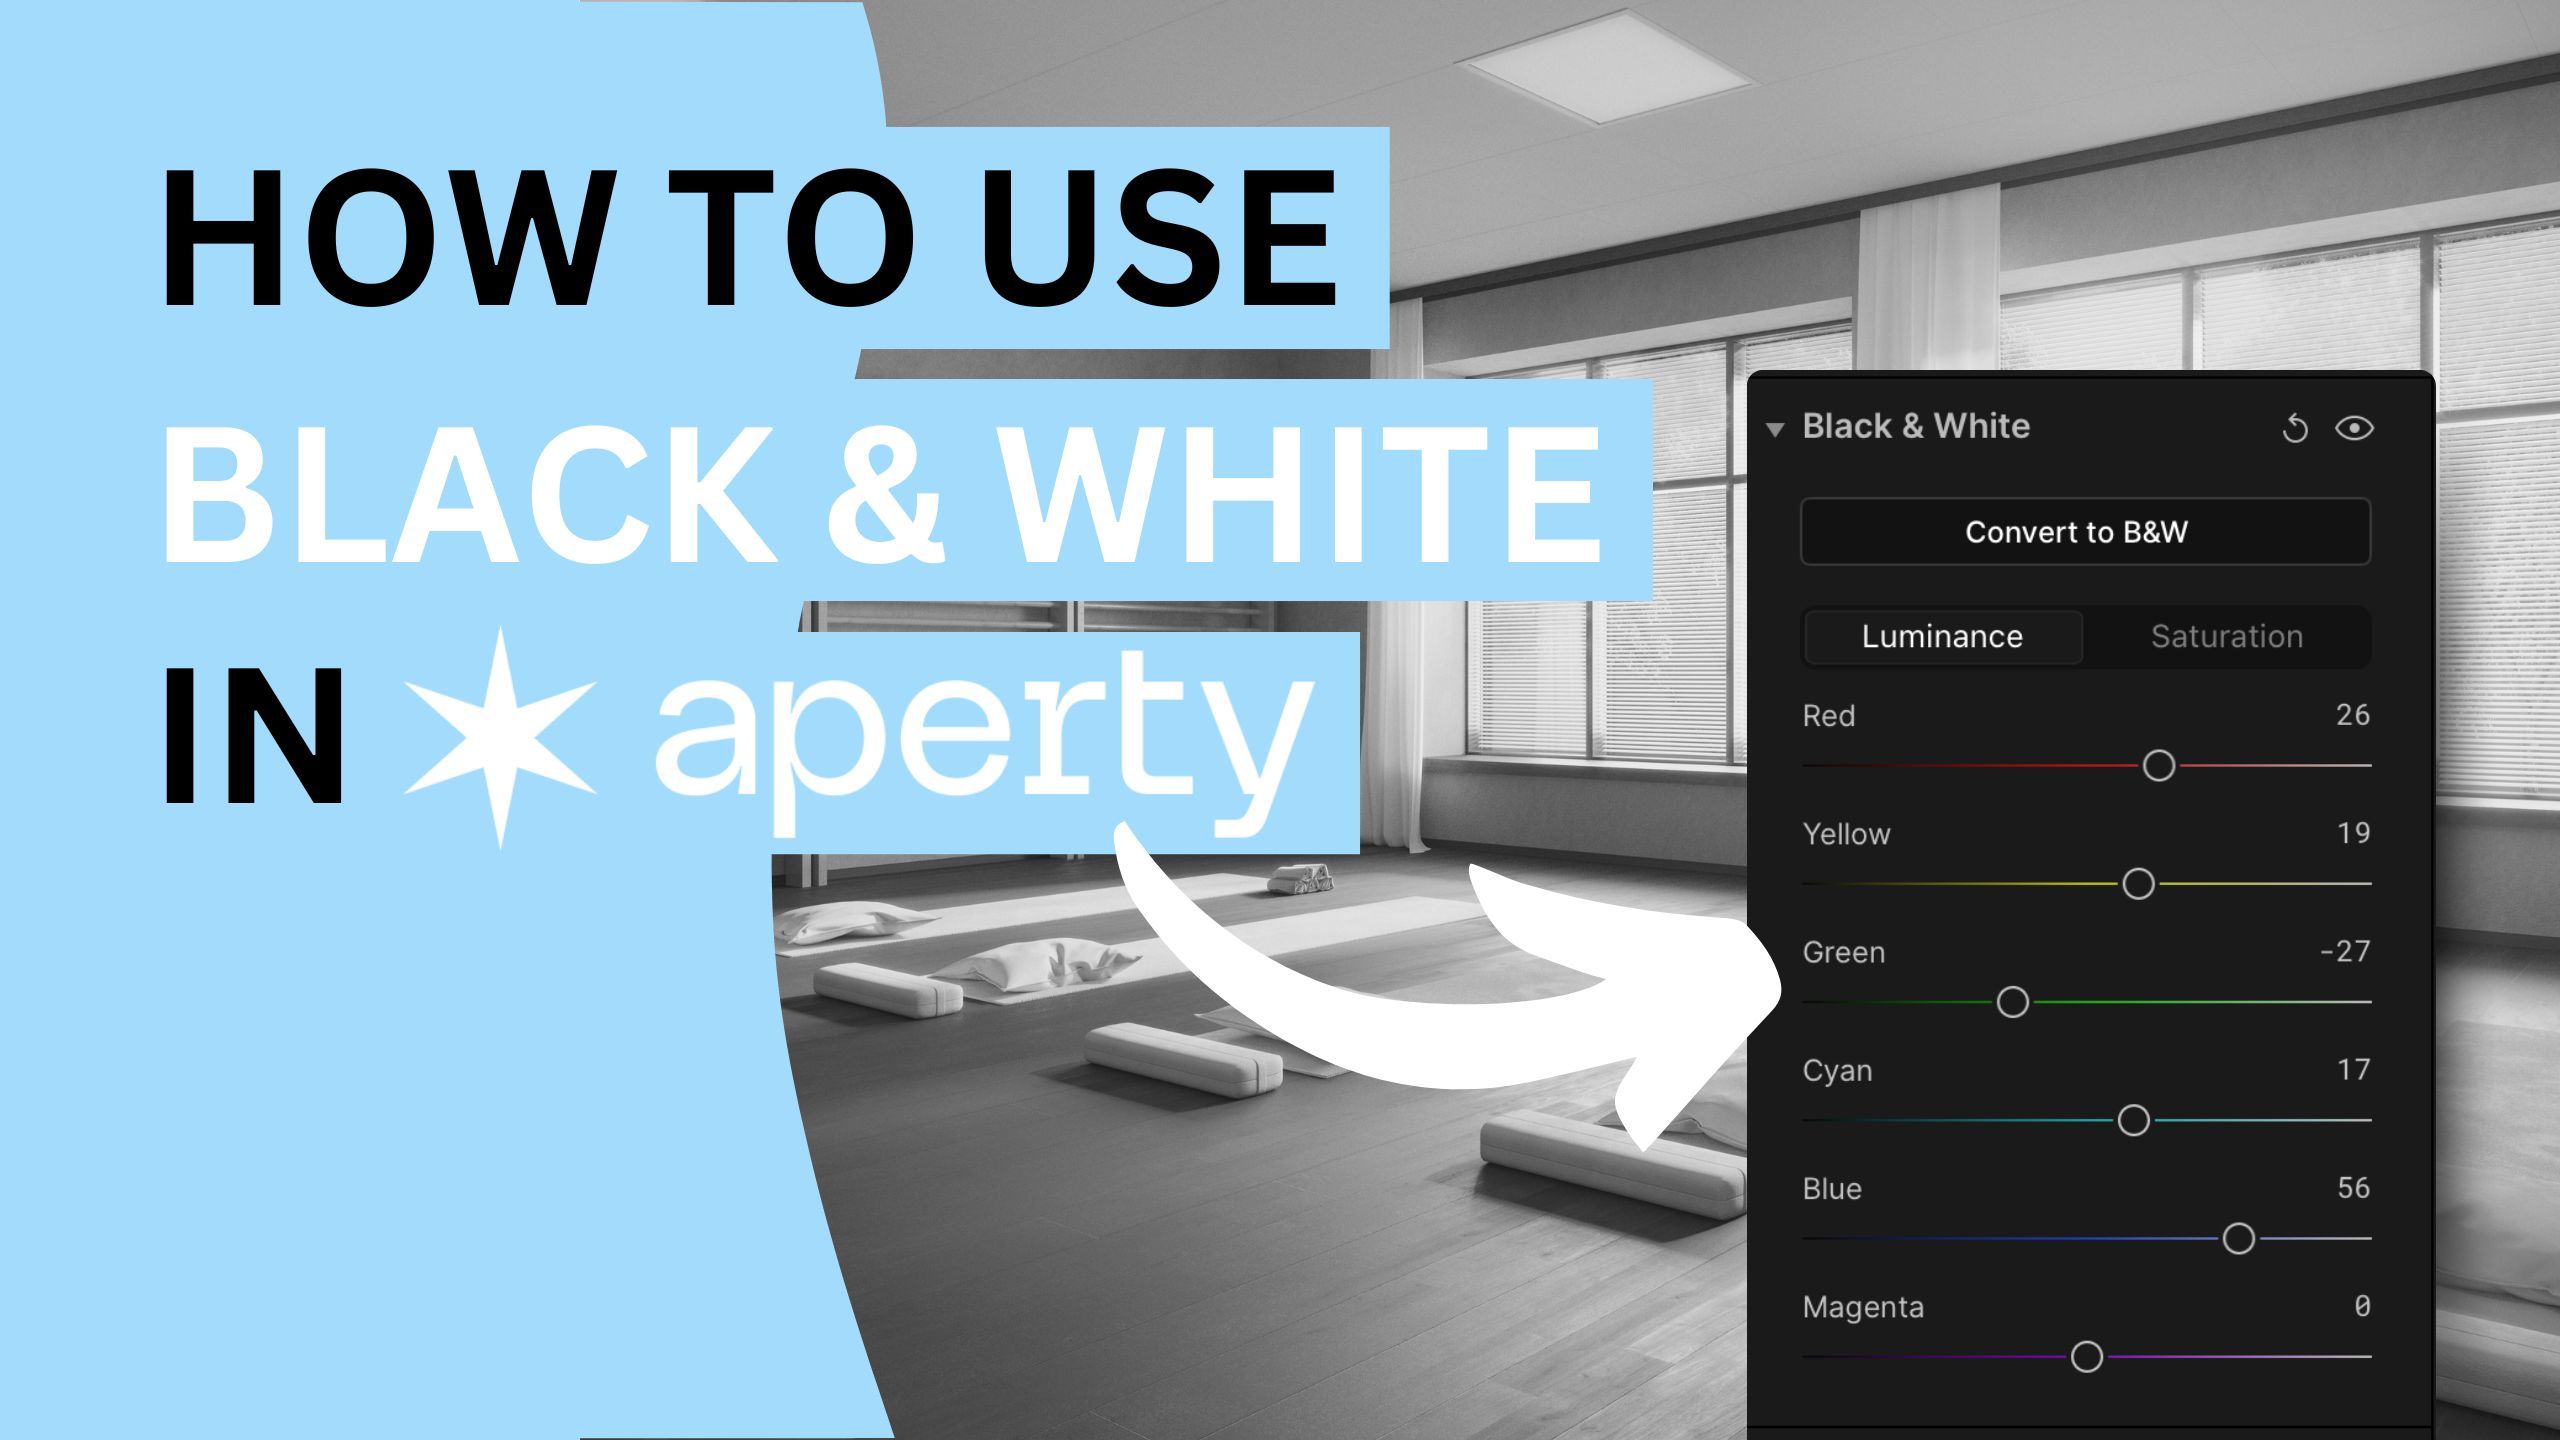
When this option is selected, the Red, Yellow, Green, Cyan, Blue, and Magenta sliders adjust the brightness of their corresponding colours as they are converted into black and white. This allows you to fine-tune the tonal balance of your image.
Saturation Slider
Selecting this option allows you to reintroduce specific colours into the black-and-white image. Each slider brings back the respective colour where it originally appeared in the photo, enabling subtle colour pops.
Getting Started with the Black & White Tool
- Select your project in the Project Manager and double-click to open it in the Editing module.
- Choose the image you want to edit from the Film Strip at the bottom of the application.
- Navigate to the Main Editing Toolbar and click the icon with three sliders to access the Essentials section.
- Open the Black & White tool by clicking its name or the triangle next to it.
- Click the Convert to B&W button to convert it into a B&W version.
- Use the Luminance sliders to adjust the brightness of the corresponding colours to adjust the tonal balance.
- Optionally, use the Saturation slider to re-introduce specific colours into the B&W image.
- At any point, click the Eye icon to compare the before and after results.
Black & White Tool - Video Tutorial
Aperty Portrait Editor
Aperty is an advanced portrait photo editing software designed to simplify and accelerate the process of retouching portraits. It features AI-powered tools for tasks like blemish removal, skin smoothing, makeup application, and facial reshaping, all while maintaining natural beauty. With its user-friendly interface, batch editing capabilities, and support for plug-ins, Aperty allows photographers to achieve professional-quality results quickly. Developed in collaboration with photographer Julia Trotti, Aperty offers one-click presets, precise human detection, and automation, making it an efficient solution for high-volume portrait editing workflows.
Learn more about Aperty here.
Get professional portrait LUTs here.
Written and published by: Jakub Bors | #BorsPhotography | www.borsphoto.com


