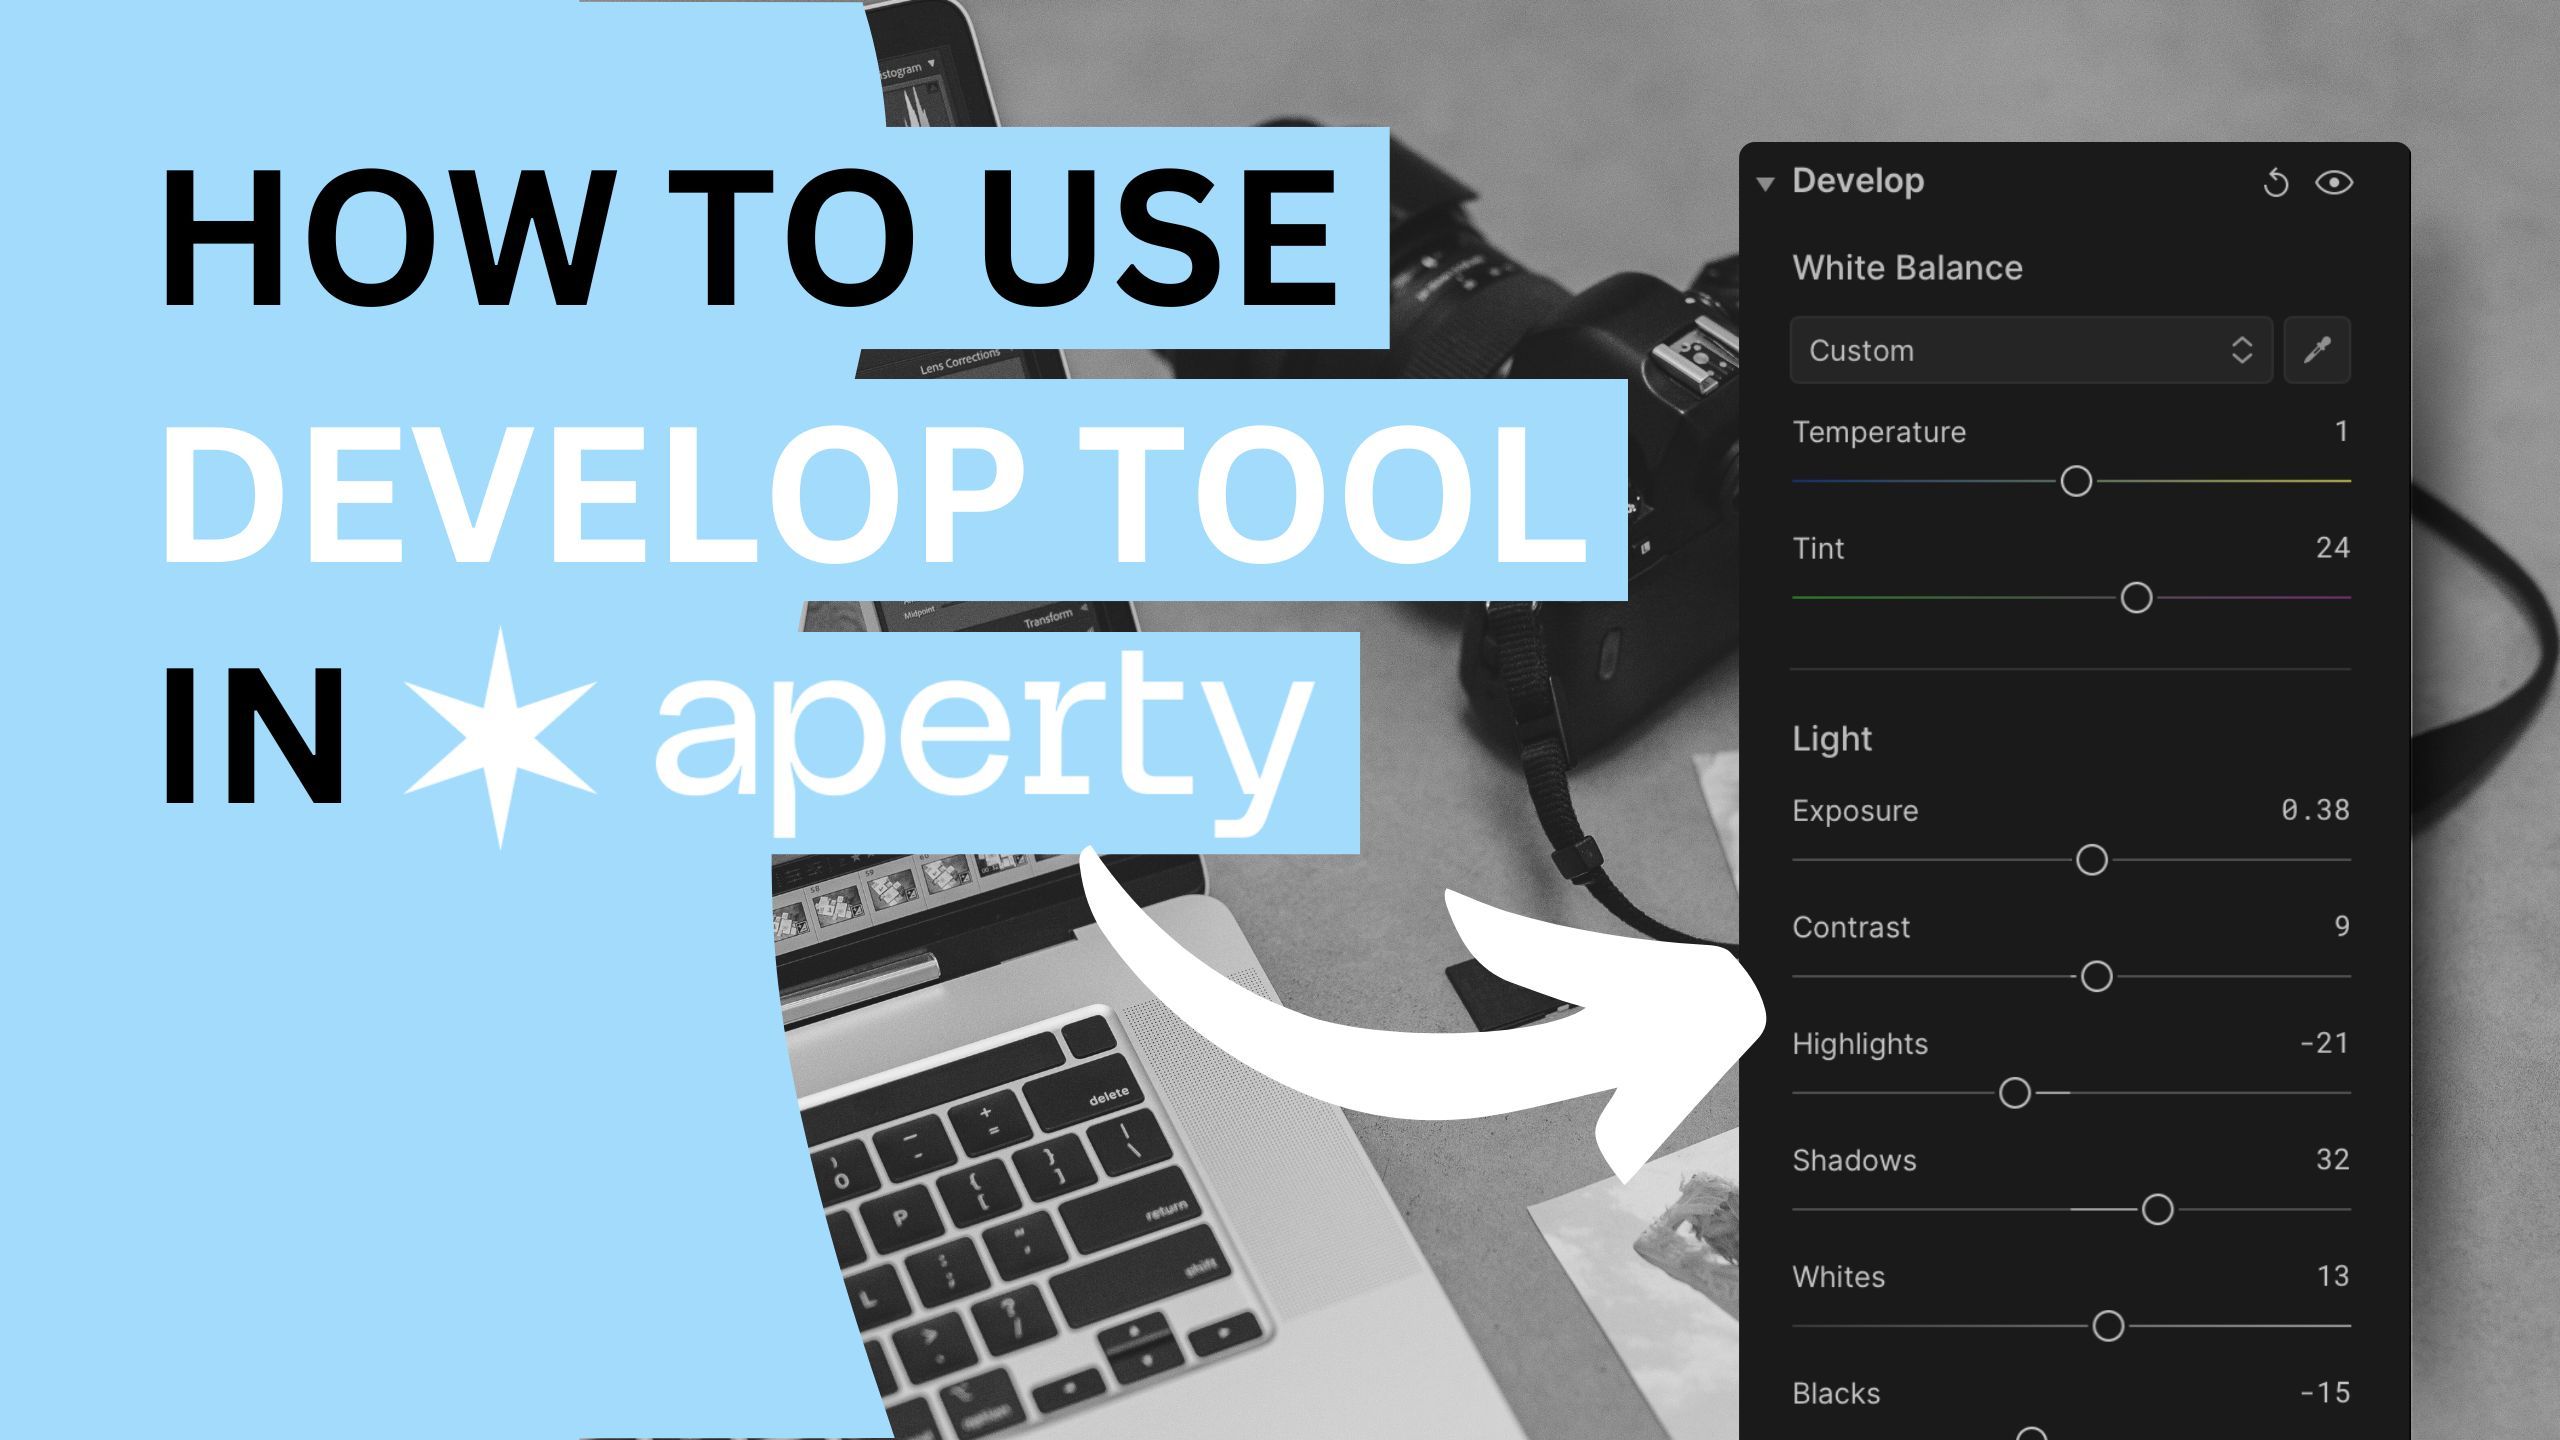
Aperty: How to use Develop tool
Oct 07, 2024
Every exceptional image begins with a solid foundation, and Aperty's Develop tool is essential for photographers working with images in Non-RAW formats like JPEG, PNG, TIFF, and more. This powerful tool provides essential controls for development and basic adjustments, allowing for precise colour correction and exposure tweaks. Start with the Develop tool to refine your images and transform your captures into stunning visuals ready for final enhancement.
🎓 Learn everything there is to know about Aperty with our Aperty Masterclass 👉 Learn More
🛒 TIP: Speed up your portrait editing with our Professional Portrait LUT Bundle 👉 Learn More
📸 Aperty: Find out more about Aperty 👉 Here
In this article:
- What is the Develop Tool
- Introducing Develop controllers
- Getting started with the Develop tool
- Develop Tool - Video Tutorial
- Aperty
What is the Develop Tool
In photography, every exceptional image begins with a solid foundation, and Aperty's Develop tool provides that crucial starting point for your editing process. Designed for photographers working with JPEG, PNG, TIFF, and other formats, this powerful tool offers essential controls for development and basic adjustments. With features like precise colour correction and exposure adjustments, you can refine your images to reflect your creative vision accurately.
📍 Tip: The Develop tool is only accessible for NON-RAW image files (JPEG, PNG, TIFF etc.). Images in RAW formats will use the Develop RAW tool. (Learn more about the Develop RAW tool here)
📍 Tip: See the list of the supported image formats in Aperty here.
Introducing Develop Controllers
White Balance
The White Balance feature adjusts the colour temperature and tint of an image to ensure accurate colour representation, making whites appear neutral and enhancing other colours.
White Balance Presets
Aperty offers White Balance Preset options for common lighting scenarios, including daylight, cloudy, shade, tungsten, and fluorescent, providing quick adjustments based on the shooting environment.
White Balance Picker
Use the White Balance Picker to click on a neutral area in the portrait (like a grey card) to automatically set the correct white balance, ensuring accurate colour rendition.
Temperature Slider
The Temperature Slider adjust the warmth or coolness of the image with this slider. Moving it to the right adds warmth (yellow/orange tones), while moving it to the left introduces coolness (blue tones).
Tint Slider
The Tint Slider adjusts the green and magenta balance, allowing for the correction of colour casts from various lighting conditions.
Light
The Light Feature encompasses various controls for adjusting exposure and tonal range, essential for enhancing portrait images.
Exposure Slider
This slider adjusts the overall brightness of the image, allowing users to brighten or darken the portrait as needed.
Contrast Slider
This control modifies the difference between the darkest and lightest areas of the image, enhancing the image's dynamism or creating a more subtle look.
📍 Tip: Curves offer a more advanced way of adding contrast to your images. Read the blog post here to learn how to use the Curves tool in Aperty.
Highlights & Shadows Sliders
Users can fine-tune the bright and dark areas of the portrait separately. Adjusting highlights helps recover details in bright areas while adjusting shadows brings out details in darker sections.
Whites & Blacks Sliders
These sliders enable precise adjustments to the brightest and darkest parts of the image, defining the portrait's tonal range.
📍 Tip: The Histogram and Clipping Mask are great ways to guide and review the edits made with the Develop tool. Find out more about the Histogram tool here.
Getting Started with the Develop Tool
- Select your project in the Project Manager and double-click to open it in the Editing module.
- Choose the image in NON-RAW format you want to edit from the Film Strip at the bottom of the application.
- Navigate to the Main Editing Toolbar and click the icon with three sliders to access the Essentials section.
- Open the Develop tool by clicking its name or the triangle next to it.
- Start by adjust your white balance. Test the White Balance presets or use the White Balance Picker to get close to your desired look.
- Use the Temperature and Tint sliders to fine-tune the overall white balance of your photo.
- Use the Highlights, Shadows, Whites and Blacks sliders to adjust the overall light of your image.
- Review the Histogram and finish the initial development using the Exposure and Contrast sliders.
- At any point, click the Eye icon to compare the before and after results.
Develop Tool - Video Tutorial
Aperty Portrait Editor
Aperty is an advanced portrait photo editing software designed to simplify and accelerate the process of retouching portraits. It features AI-powered tools for tasks like blemish removal, skin smoothing, makeup application, and facial reshaping, all while maintaining natural beauty. With its user-friendly interface, batch editing capabilities, and support for plug-ins, Aperty allows photographers to achieve professional-quality results quickly. Developed in collaboration with photographer Julia Trotti, Aperty offers one-click presets, precise human detection, and automation, making it an efficient solution for high-volume portrait editing workflows.
Learn more about Aperty here.
Get professional portrait LUTs here.
Written and published by: Jakub Bors | #BorsPhotography | www.borsphoto.com


