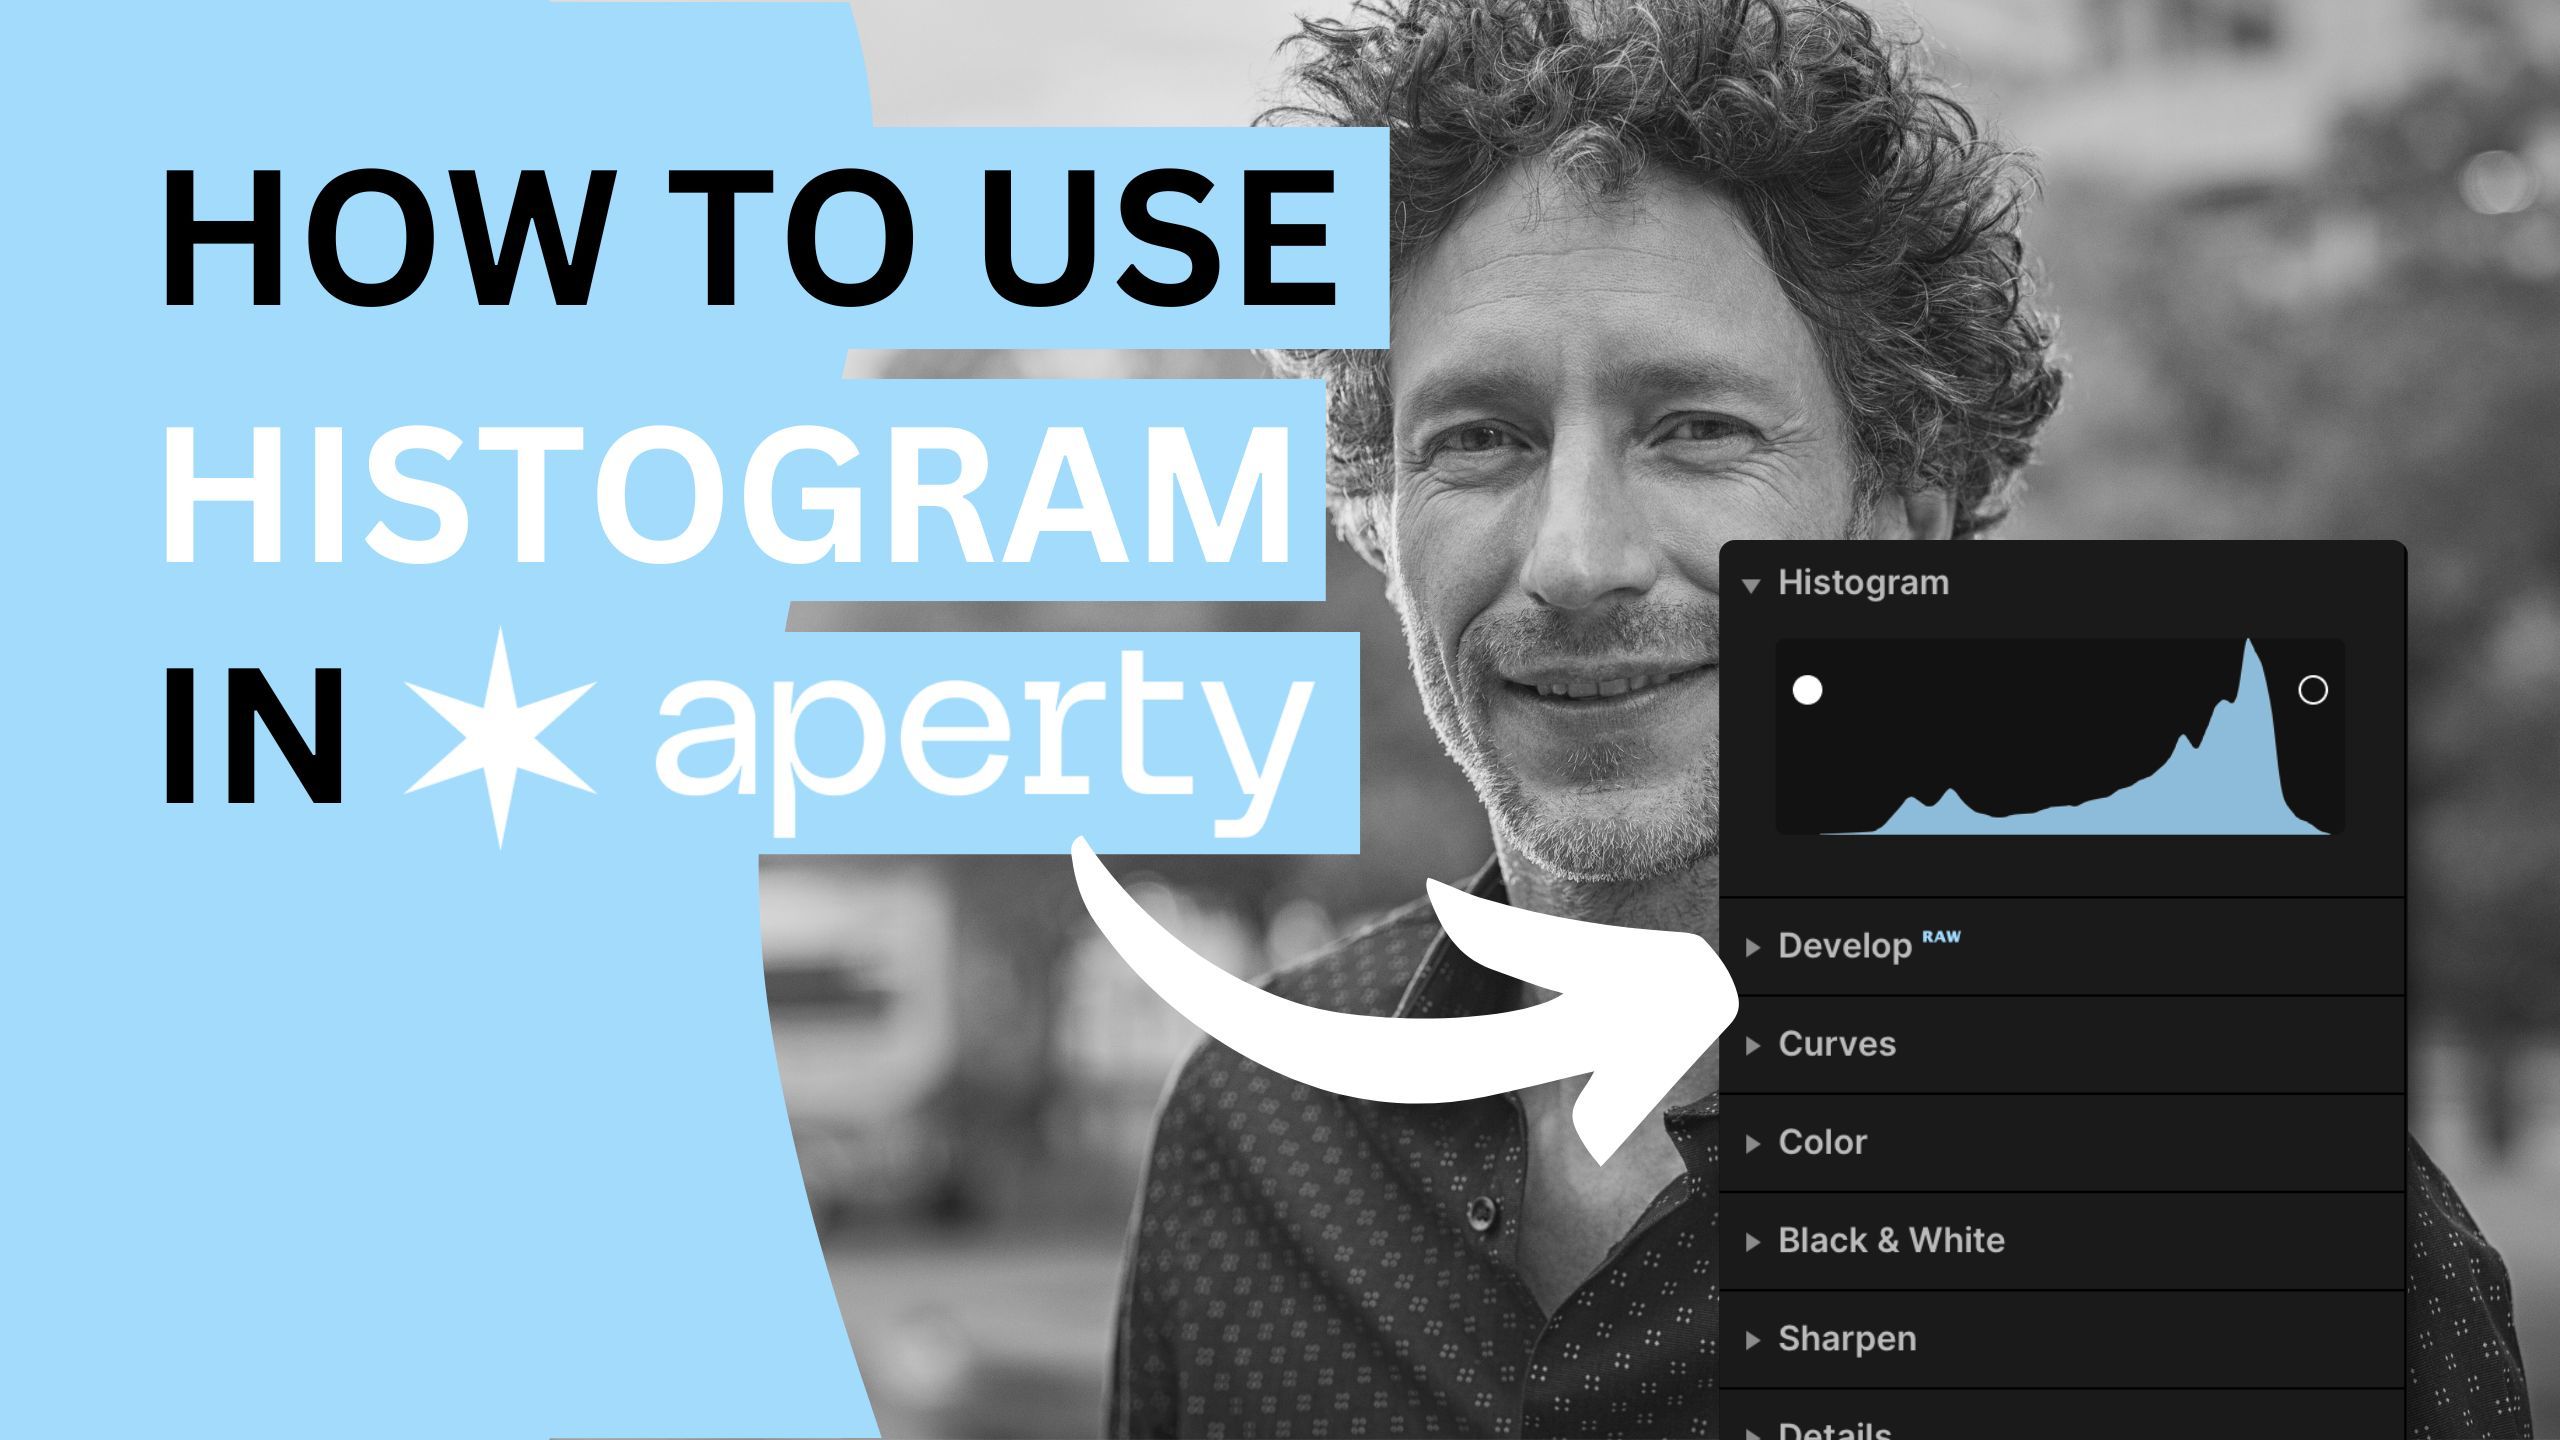
Aperty: How to use Histogram
Oct 09, 2024
The Histogram in Aperty acts as a cheat sheet for editing portraits. It divides your image into shadows, midtones, and highlights, allowing you to ensure that the exposure and colours are accurate. Whether you want soft, glowing skin tones or rich shadow details, the histogram enables you to make precise edits. Let's explore how this tool can enhance your portrait editing skills!
🎓 Learn everything there is to know about Aperty with our Aperty Masterclass 👉 Learn More
🛒 TIP: Speed up your portrait editing with our Professional Portrait LUT Bundle 👉 Learn More
📸 Aperty: Find out more about Aperty 👉 Here
In this article:
What is Histogram
For portrait photographers, Aperty’s histogram is an indispensable tool for achieving perfect exposure and tonal balance. By analyzing the distribution of shadows, midtones, and highlights, you can fine-tune your edits and maintain rich details in skin tones, hair, and background elements.
The histogram becomes especially powerful when used alongside tools like Develop, Color, and Curves, giving you real-time feedback on exposure, contrast, and color adjustments. Whether you're perfecting skin tones or controlling contrast, the histogram ensures your portraits remain balanced, natural, and professional.
Introducing Histogram Controllers
The histogram tool is located in the Essentials section of the main editing toolbar. To access it, right-click on the image and select "Show Histogram". As you adjust to exposure, contrast, saturation, etc., the histogram will update in real time, allowing you to ensure that your image has a balanced exposure across the tonal range.
Histogram View
- Left Side (Shadows): Represents the darkest areas of your image.
- Middle (Midtones): Shows the midrange tones or grey values.
- Right Side (Highlights): Displays the brightest areas of your photo.
Types of Histogram
-
Luminance Histogram: Displays the overall brightness levels of your image, showing shadows, midtones, and highlights.
-
RGB (Color) Histogram: Shows the distribution of red, green, and blue color channels to help balance color in your photo.
-
Channel-Specific Histograms: Isolates the red, green, or blue channels, allowing precise color correction for each one.
📍 Tip: To switch between the individual histograms, simply click on the histogram preview.
Clipping Mask
- The Clipping Mask helps you to recognise the areas of your photos where the shadows are too dark (Blue Overlay) or highlights are too bright (Red Overlays).
📍 Tip: You can utilize both the Develop and Curve tools to recover details in highlights and shadows.
📍 Tip: Clipping Masks can be turned on and off using the "J" key on your keyboard or clicking the circle icons in the histogram's top left and right corners.
Getting Started with Histogram
- Select your project in the Project Manager and double-click to open it in the Editing module.
- Choose the image you want to edit from the Film Strip at the bottom of the application.
- Navigate to the Main Editing Toolbar and click the icon with three sliders to access the Essentials section.
- Right-click on the image and select Show Histogram to display the histogram overlay.
- Open the Histogram tool by clicking on its name or the triangle next to it to expand the options.
- Click on the histogram and choose between Luminance, RGB, or Channel-Specific histograms based on the adjustment you plan to make.
- Use the Develop, Color, or Curves tools while monitoring the histogram for real-time feedback on exposure and color balance.
- Check for clipping by ensuring no strong peaks are pressed against the left (shadows) or right (highlights) edges of the histogram.
- Adjust exposure, contrast, or color levels to achieve a well-balanced portrait.
- At any point, click the Eye icon to compare the before and after results.
Aperty Portrait Editor
Aperty is an advanced portrait photo editing software designed to simplify and accelerate the process of retouching portraits. It features AI-powered tools for tasks like blemish removal, skin smoothing, makeup application, and facial reshaping, all while maintaining natural beauty. With its user-friendly interface, batch editing capabilities, and support for plug-ins, Aperty allows photographers to achieve professional-quality results quickly. Developed in collaboration with photographer Julia Trotti, Aperty offers one-click presets, precise human detection, and automation, making it an efficient solution for high-volume portrait editing workflows.
Learn more about Aperty here.
Get professional portrait LUTs here.
Written and published by: Jakub Bors | #BorsPhotography | www.borsphoto.com


