Aperty: How to use Optics tool
Oct 12, 2024
The key part of image development involves optics correction and transformation. This is where the Optics Tool in Aperty steps in. With features designed to correct distortion, eliminate chromatic aberration, and adjust perspective, you’ll have everything you need to enhance your photos' clarity and appeal. Join us as we dive into the ins and outs of this powerful tool and discover how to achieve that perfect, polished look for your photography!
🎓 Learn everything there is to know about Aperty with our Aperty Masterclass 👉 Learn More
🛒 TIP: Speed up your portrait editing with our Professional Portrait LUT Bundle 👉 Learn More
📸 Aperty: Find out more about Aperty 👉 Here
In this article:
What is the Optics Tool
Precise optics correction and transformation are paramount in image development. The Optics Tool in Aperty offers advanced features to correct lens distortion, effectively remove chromatic aberration, and fine-tune perspective adjustments. By leveraging these capabilities, you can significantly enhance your photographs' clarity and visual appeal.
What is Lens Distortion
Lens distortion is the optical phenomenon where images captured through a camera lens appear warped or distorted, deviating from their accurate shapes. This distortion is typically caused by the lens design.
What is Chromatic Aberration
Chromatic aberration is an optical distortion that occurs when a lens fails to focus all colours of light at the same point. This results in colour fringing along high-contrast edges in an image, often appearing as purple or green halos around objects.
What is Fringe
Fringing in photography refers to the unwanted coloured outlines or halos that appear along the edges of high-contrast areas in an image. This can occur due to various factors, including lens imperfections, chromatic aberration, or post-processing errors.
Introducing Optics Controllers
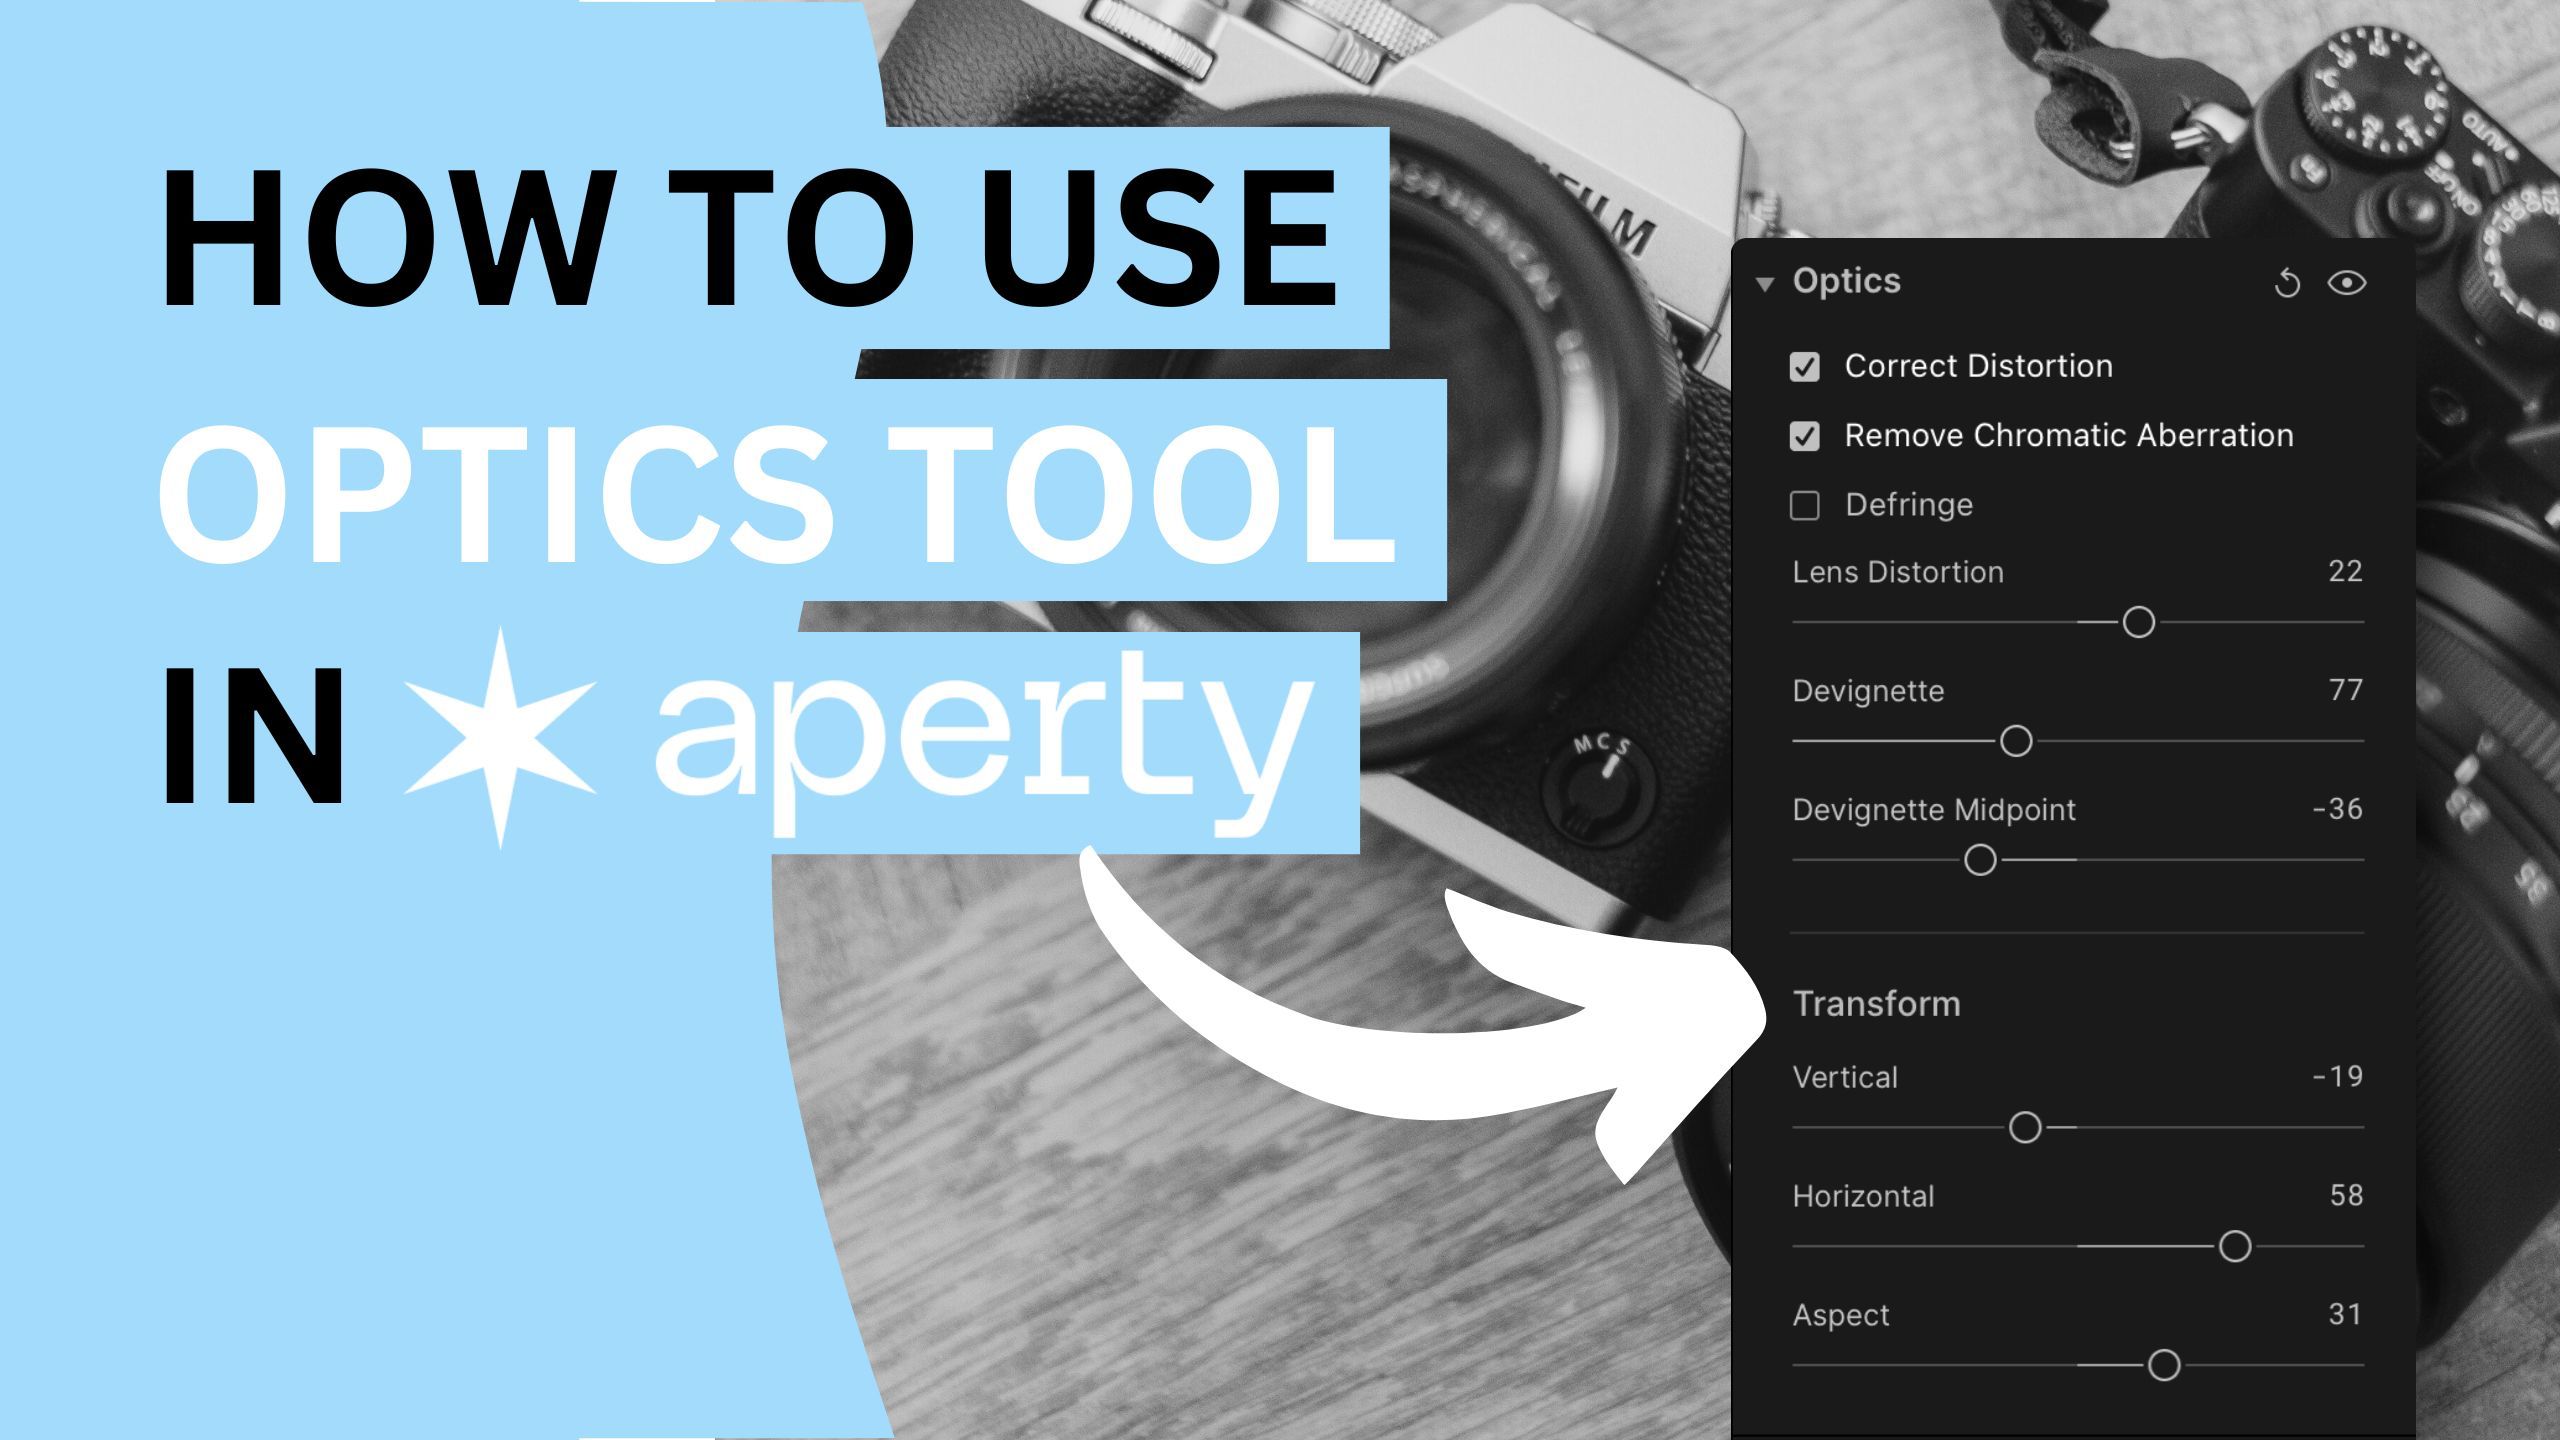
Optics
Correct Distortion (Available only when editing RAW files)
This feature allows users to adjust lens distortion, fixing barrel or pincushion distortion commonly caused by wide-angle or telephoto lenses.
Remove Chromatic Aberration (Available only when editing RAW files)
This feature targets and eliminates colour fringing along the edges of high-contrast subjects, improving overall image clarity.
Defringe
This tool helps remove unwanted colour fringes around edges in images, similar to Chromatic Aberration correction.
Lens Distortion Slider
Adjusts the amount of lens distortion correction applied to the image.
Devignette Slider
Controls the amount of vignetting correction, allowing users to lighten or darken the edges of the image for better balance.
Devignette Midpoint Slider
Adjusts the position of the midpoint for the vignetting effect, enabling more precise control over how the effect is applied.
📍 Tip: The Correct Distortion & Devignette features are only accessible for RAW image files. Images in formats like JPEG, PNG, and TIFF will only have access to the Defringe feature.
📍 Tip: See the list of the supported RAW files in Aperty here.
Transform
Transform Vertical Slider
Allows users to adjust the vertical perspective of the image, helping to correct any tilting or leaning.
Transform Horizontal Slider
Enables adjustments to the horizontal perspective, correcting issues with the alignment of vertical lines.
Transform Aspect Slider
Adjusts the image's aspect ratio, allowing users to stretch or compress the image horizontally or vertically for the desired framing.
Getting Started with the Optics Tool
- Select your project in the Project Manager and double-click to open it in the Editing module.
- Choose the image you want to edit from the Film Strip at the bottom of the application.
- Navigate to the Main Editing Toolbar and click the Crop Icon to open the Canvas section.
- Click on the Optics tool name or the triangle next to it to expand the options.
- Enable the Correct Distortion option. Check the adjustment and fine-tune the result using the Lens Distortion slider as necessary.
- Turn on the Remove Chromatic Aberration option and enable Defringe to eliminate any color fringing.
-
Use the Devignette and Devignette Midpoint sliders to adjust the vignetting effect on your photo.
- Adjust the perspective using the Vertical, Horizontal, and Aspect sliders.
- At any point, click the Eye icon to toggle between the before and after results, allowing you to see the changes you’ve made.
Aperty Portrait Editor
Aperty is an advanced portrait photo editing software designed to simplify and accelerate the process of retouching portraits. It features AI-powered tools for tasks like blemish removal, skin smoothing, makeup application, and facial reshaping, all while maintaining natural beauty. With its user-friendly interface, batch editing capabilities, and support for plug-ins, Aperty allows photographers to achieve professional-quality results quickly. Developed in collaboration with photographer Julia Trotti, Aperty offers one-click presets, precise human detection, and automation, making it an efficient solution for high-volume portrait editing workflows.
Learn more about Aperty here.
Get professional portrait LUTs here.
Written and published by: Jakub Bors | #BorsPhotography | www.borsphoto.com


