
Luminar NEO: How to use Color Transfer tool
With Luminar NEO’s Color Transfer tool, you can easily transform your photos by drawing inspiration from other images. Whether it’s a breathtaking landscape or a stylish portrait, transfer the colours and mood from any reference photo to your own. Capture the essence of another image, match tones, and create a cohesive look with just a few clicks. It’s perfect for experimenting with new styles or recreating the vibe of your favourite photographers—bringing fresh inspiration to every edit!
GIFT 🎁: Download your Free Luminar NEO Shortcut Cheatsheet and immediately speed up your editing workflow in Luminar NEO! Click here to get your gift!
In this article:
- What is Color Transfer Tool
- Introducing Color Transfer Tool sliders
- Getting started with the Color Transfer tool
- Video tutorial
- Luminar NEO
What is the Color Transfer Tool
Luminar NEO’s Color Transfer tool lets you instantly blend the colours and luminosity of a reference photo into your image. Fine-tune the look with Color and Luminosity Intensity sliders, and create smooth transitions with Smoothing controls. Want more precision? Use Match Similar Objects' Colors to transfer colours between specific elements like skies, cars, or people. Perfect for creating seamless, cohesive edits in just a few clicks!
Introducing Color Transfer sliders
Reference Selection
To choose a reference image, click the Reference Selection drop-down menu, then click the "+" icon to add your reference photo.
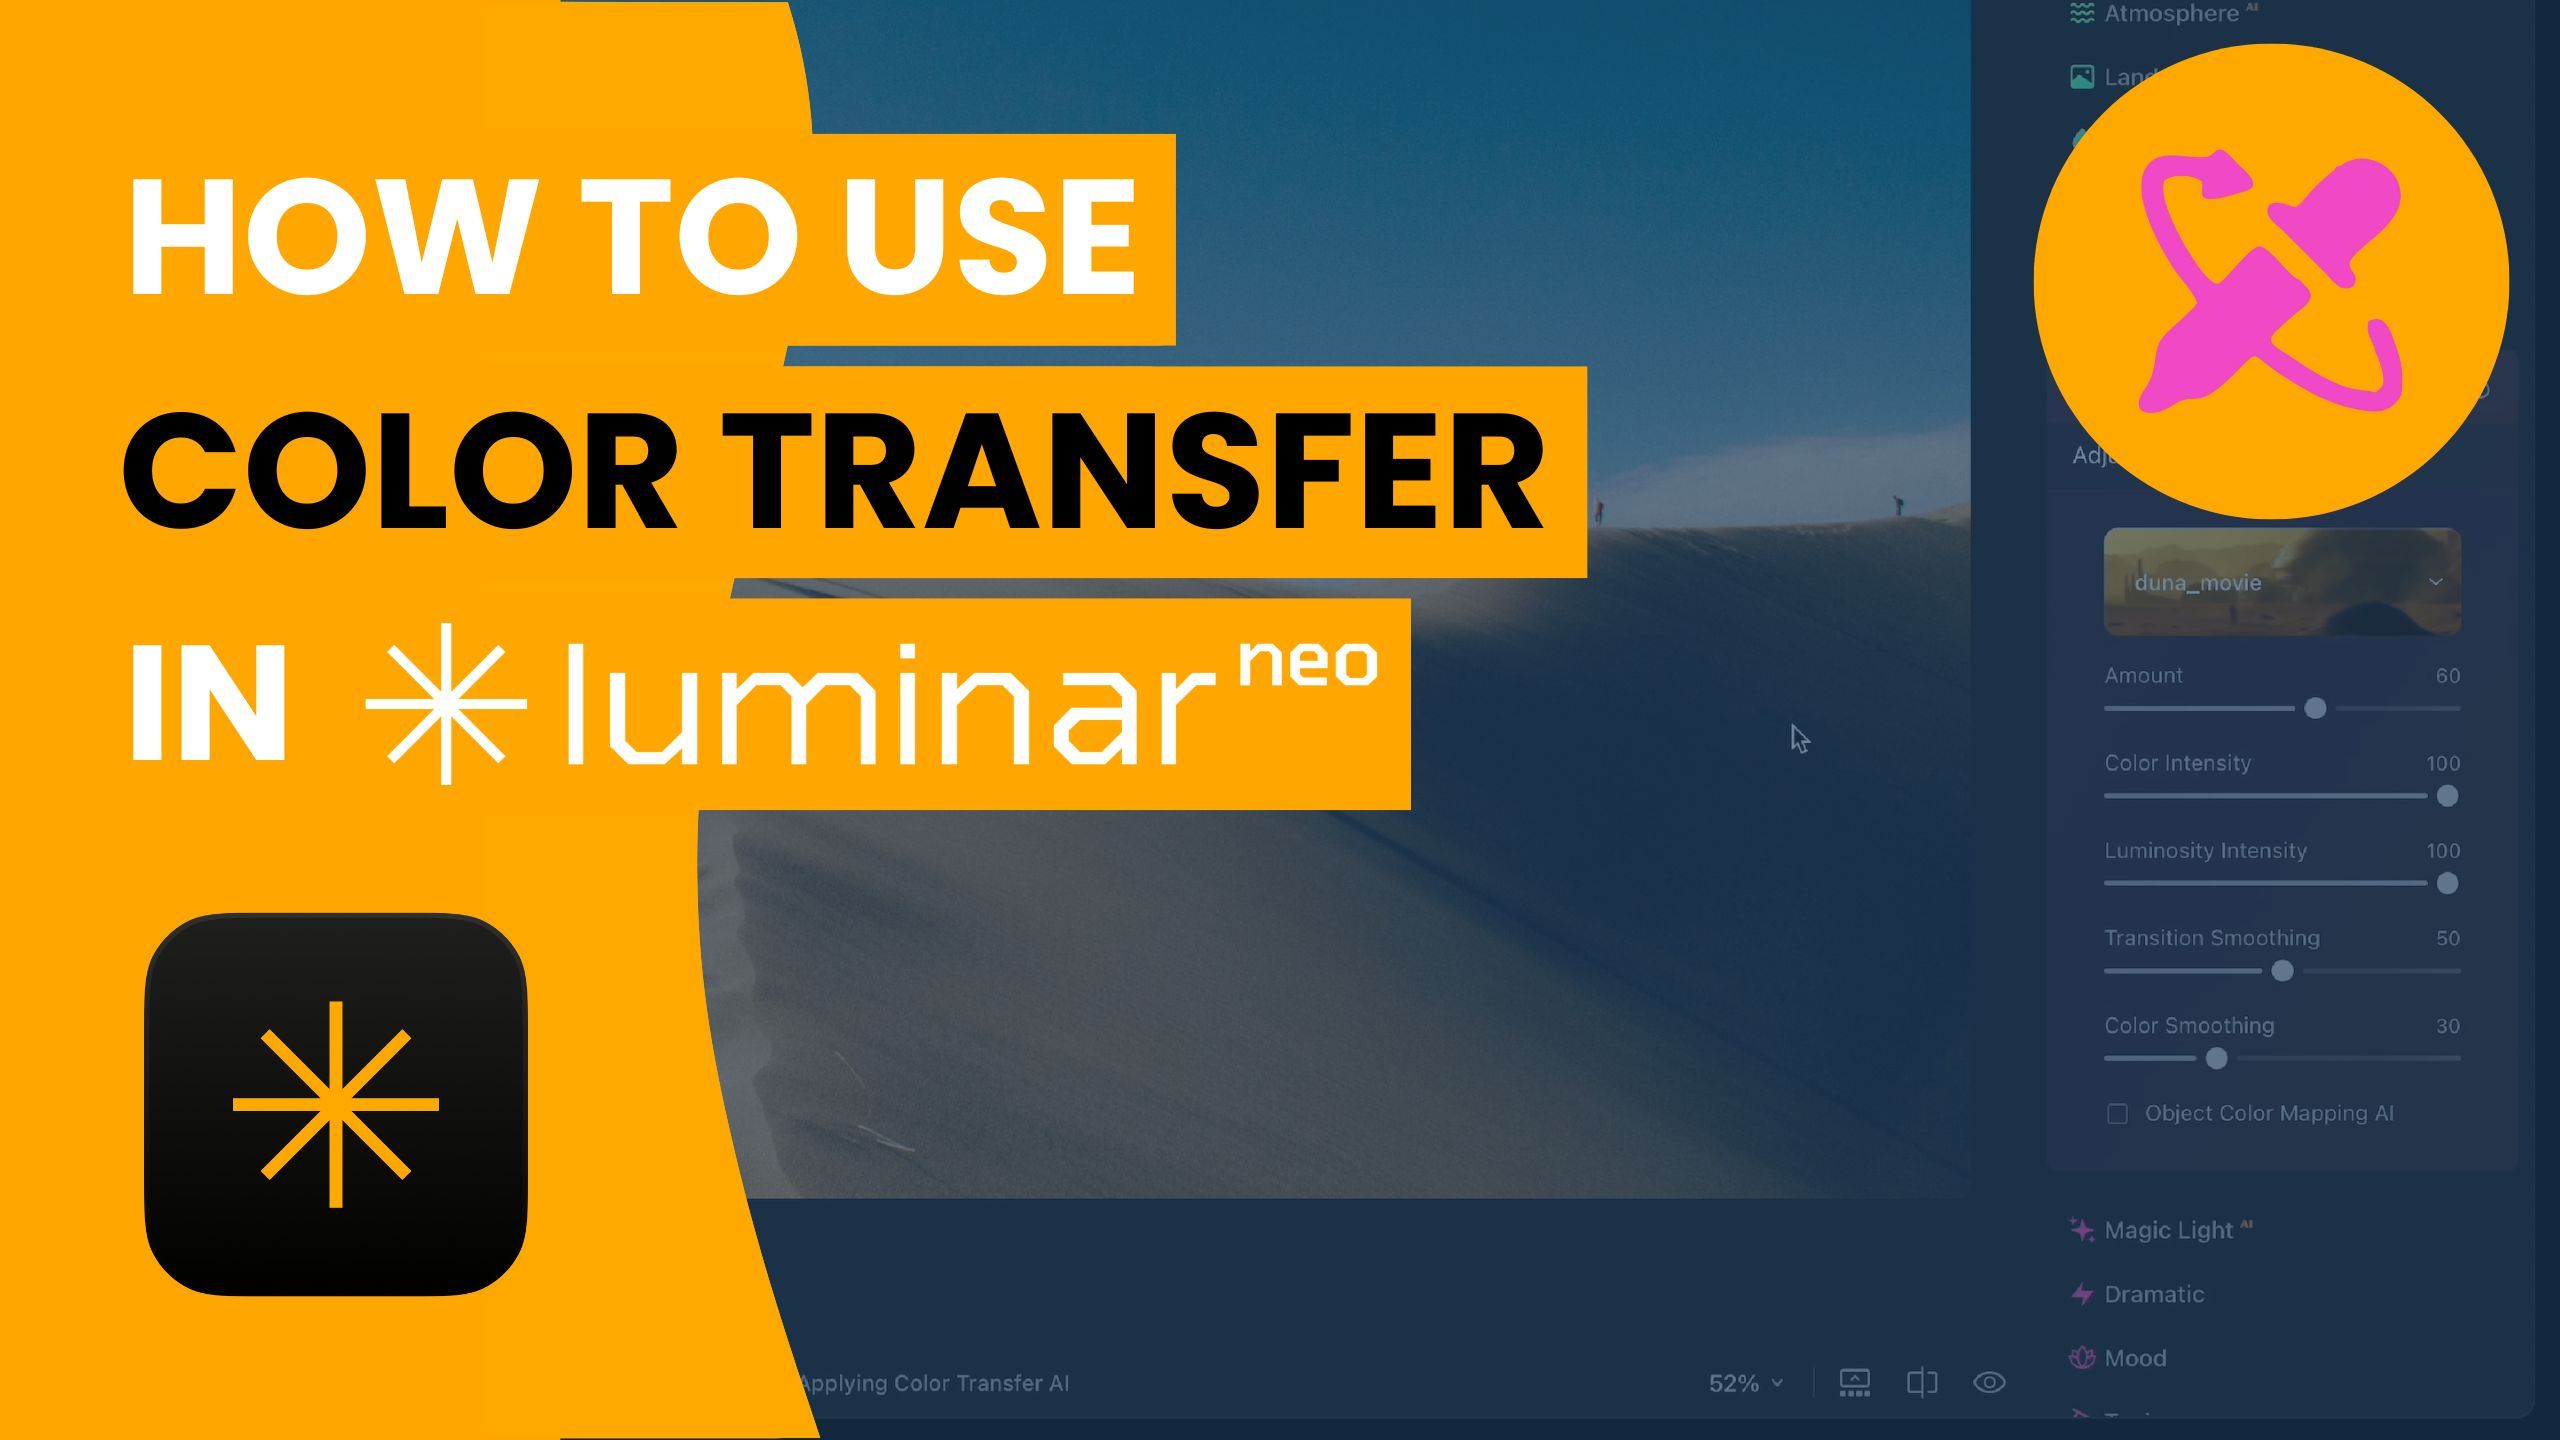
Amount
This slider adjusts the overall blend between your image and the reference photo. Use it to control how much of the reference look is applied to your image.
Color Intensity
Adjust the amount of colour transferred from the reference image to your photo using this slider. By default, it's set to 100%, transferring all colours. Lower the slider to reduce the colour influence all the way down to 0% if you want no colour transfer.
Luminosity Intensity
Control how much luminosity transfers between the reference image and your photo with this slider. The default setting is 100%, transferring all luminosity details. Adjust down to 0% to prevent any luminosity transfer.
Transition Smoothing
This slider controls the gradient and blending between the transferred colours and luminosity areas in your image. The default value is set to 50. Increase the value for smoother transitions or set it to 0 for a sharper, more contrast-heavy effect.
Color Smoothing
Use this slider to smooth the transition of transferred colours in your photo. The default value is 30, but you can adjust it for more seamless colour integration.
Match Similar Objets' Colors
This advanced option allows you to transfer colours and luminosity between specific elements in both images. It works best when similar objects are in each image, such as matching sky to sky, car to car, or human to human. This targeted transfer results in more precise colour matching between corresponding elements.
Getting started with Color Transfer Tool
- Open your image and move to the Edit module (E).
- Open the Color Transfer tool located in the Creative section.
- To start, select your reference image by clicking the Reference Selection drop-down. You can choose from the default images or click the "+" to add your own reference image.
- Once the new look is applied, begin by adjusting the Amount slider to control the intensity of the overall transferred look.
- Fine-tune the effect with the Color and Luminosity Intensity sliders.
- Adjust the Transition and Color Smoothing sliders for a more polished result.
- Optionally, use the Match Similar Objects' Colors feature for a more precise colour match between similar elements in both images.
- At any point, click the Eye icon to toggle between the before and after views.
Color Transfer Tool video tutorial
Watch the full video tutorial covering all controls in this tool.
Luminar Neo: Elevate Your Photo Editing with AI-Powered Tools
Luminar Neo is Skylum's cutting-edge photo editing software powered by advanced AI tools. Since its release, it has become a favourite among photographers for its intuitive interface and powerful features that simplify complex editing tasks while still offering incredible creative control.
Whether you’re looking to enhance landscapes, portraits, or any genre of photography, Luminar Neo equips you with the tools to do it effortlessly. Its versatility and focus on streamlining workflows make it a great alternative to traditional editing software like Photoshop.
Explore Luminar Neo’s capabilities here.
Don't forget, you can get 10% off with our exclusive code CPNEO10 at checkout.
And if you're looking for new elements to add to your Luminar Neo, make sure to check our best-selling Luminar Neo Power Bundle 👇

Written and published by: Jakub Bors | #BorsPhotography | www.borsphoto.com
