
Luminar NEO: How to use the Mystical Tool
May 27, 2022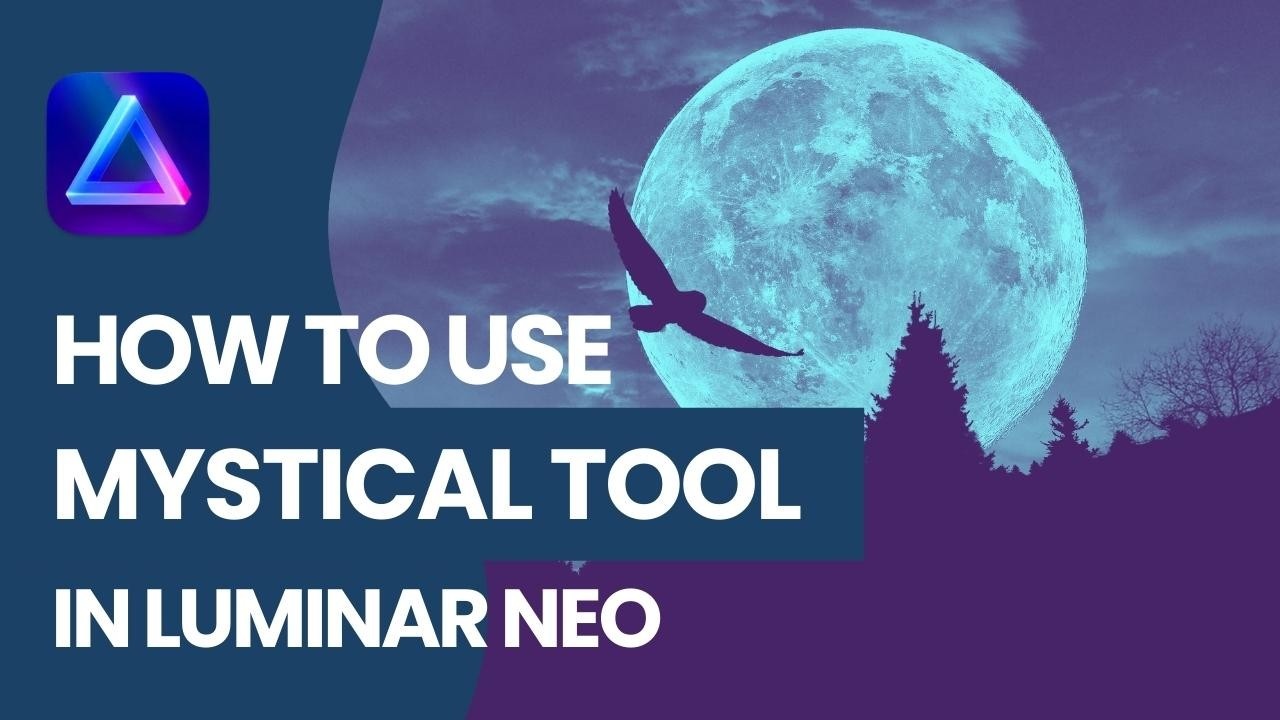
The Mystical tool in Luminar NEO is very popular amongst landscape photographers. It gives you the ability to add a dreamy look to your images with simple one slider adjustments. The tool even has a few additional sliders for finer adjustments of shadows, saturation and warmth. Learn more about how to create a fantasy look by increasing contrast and adding a creative glow in our latest blog post.
GIFT 🎁: Download your Free Luminar NEO Shortcut Cheatsheet and immediately speed up your editing workflow in Luminar NEO! Click here to get your gift!
In this article:
- What is the Mystical Tool
- Introducing the Mystical Tool sliders
- Getting started with the Mystical Tool
- Video tutorial
- Luminar NEO
What is the Mystical Tool
The Mystical tool gives your image a dreamy look by softening the luminescence while increasing the contrast and saturation. It can create a fantasy look by increasing contrast and adding a creative glow prioritized in the lighter areas of the image.
Introducing the Mystical Tool sliders
Standard Settings
Amount
This slider adjusts the overall strength of the tool. For a moderate effect and a more realistic image, keep the value of the Amount slider below 40. If the Amount value is 0, the tool is not applied. Move the slider to the right to increase the Amount.
Shadows
This slider adjusts the black point for the darker areas of the image.
Colorize
Saturation
This slider is a useful way to adjust the colour saturation of the Mystical effect.
Warmth
This slider adjusts the hue of the Mystical effect towards the warm end of the spectrum.
👍: At a low setting, the Mystical tool will give the image more contrast and can increase colour.
Getting started with the Mystical Tool
The Mystical tool is, like many creative tools in Luminar NEO, traditionally used in the second phase of the editing after the standard development. The development can be done in Luminar NEO using the Essential Tools and in other applications like Lightroom or Photoshop Camera RAW. Once the image is ready for further effects, use the simple sliders to get the desired look of the overall image or use the masking tool to create powerful local adjustments.
Mystical Tool:
- Open the image in Luminar NEO by using the Add Photos button (Cmd/Ctrl + O) in the Catalog module (L).
- Move to the Edit module (E).
- Then, navigate to the Mystical AI tool in the Creative section of the editing toolbar (right side).
- Open the tool by clicking on the down-arrow at the end of the tool.
- Move the Amount slider towards the right until the desired effect is applied to your image.
- Use the additional sliders to adjust the effect even further.
Mystical Tool video tutorial
Watch the full video tutorial covering all sliders in this tool.
Luminar Neo: Elevate Your Photo Editing with AI-Powered Tools
Luminar Neo is Skylum's cutting-edge photo editing software powered by advanced AI tools. Since its release, it has become a favourite among photographers for its intuitive interface and powerful features that simplify complex editing tasks while still offering incredible creative control.
Whether you’re looking to enhance landscapes, portraits, or any genre of photography, Luminar Neo equips you with the tools to do it effortlessly. Its versatility and focus on streamlining workflows make it a great alternative to traditional editing software like Photoshop.
Explore Luminar Neo’s capabilities here.
Don't forget, you can get 10% off with our exclusive code CPNEO10 at checkout.
And if you're looking for new elements to add to your Luminar Neo, make sure to check our best-selling Luminar Neo Power Bundle 👇

