
How To Photograph Star Trails
Apr 29, 2022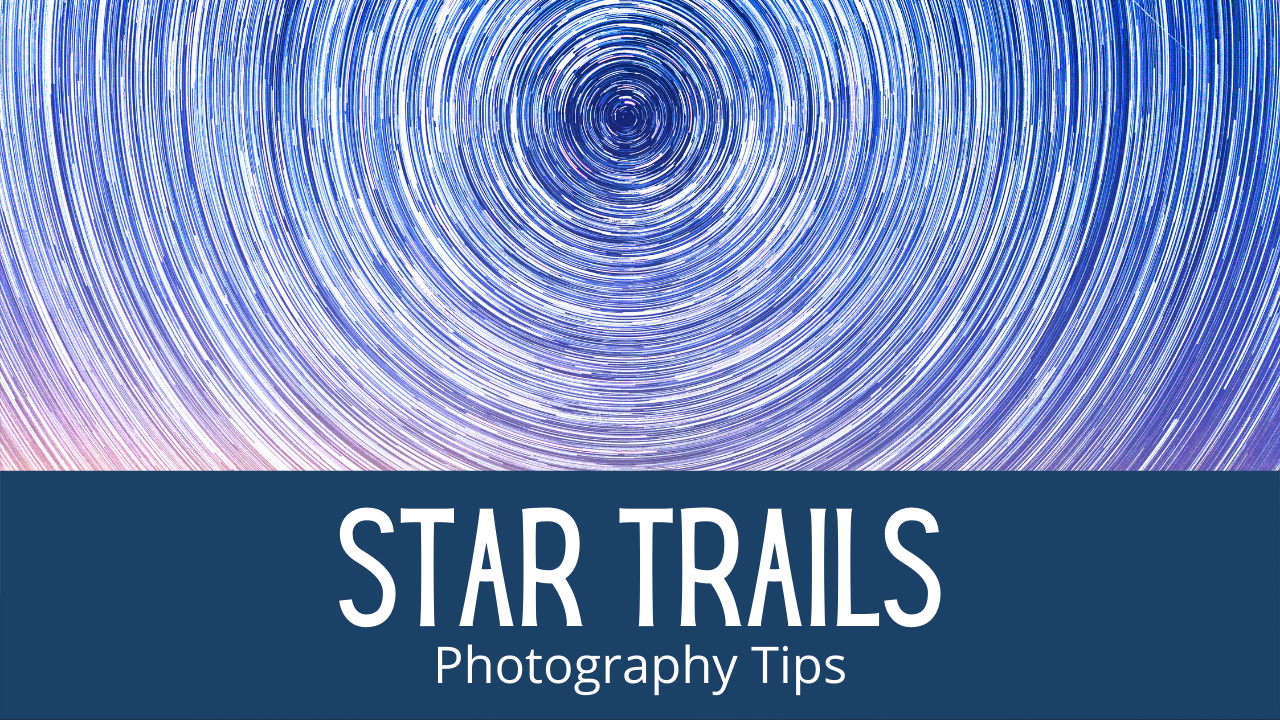
Today, we will focus on Star Trail Photography. Have you ever tried it? If not, follow our tips to capture the incredible effect of Star Trails.
First, let's find out what Star Trails are.
A star trail is a type of astrophotographic technique that uses long exposure times to capture the motion of stars in the sky due to Earth's rotation, using a fixed focal point in the foreground.
A star-trail photo shows individual stars as streaks across the image, with longer exposures yielding longer arcs.
Star trails are considered relatively easy for amateur astrophotographers to create.
Turn on your camera's long exposure noise-reduction setting to create a star trail effect, then focus the camera lens to infinity. Set an exposure time of three to four minutes with an ISO of 600 to 800. Take a test shot, and increase the exposure time if the image you took was too dark or the star trails are not as long as you want them.
Recommended setting for Star Trail Photography:
🌠 Aperture: f/4
🌠 ISO 800
🌠 Shutter Speed: 1/30 sec.
Keeping the shutter open the long periods of time sucks up a lot of battery power, so remember to bring some spare batteries.
As you will be out shooting for prolonged periods, make sure to have a large memory card available, which is both fast and formatted, and have an extra one on you just in case.
A lens with a focal length of 14mm to 24mm is an ideal range for star trails and will incorporate some foreground.
You will also need:
🌠 tripod
🌠 Cable Release
🌠 Torch
Light pollution can kill good star trail photos before you even begin. So, reduce light pollution by driving somewhere away from the bright lights of built-up areas. The darker the sky, the more you can up your exposure.
Online light pollution maps can show you how far you need to drive for the best conditions.
Shoot away from the moon, allowing the stars to shine without excess light. A new moon, when the moon reflects no sunlight, is ideal when you want dark skies.
Be sure to check the weather report before you jump in the car. Cloudless skies are essential to capture good night sky shots, and you don't want to fight against the wind to prevent camera movement.
While you can capture star trail shots anywhere it's dark enough, remember that the positions of the stars shift based on the season. And how they sit in the night sky will vary depending on your latitude. They also differ in the southern or northern hemispheres. Star maps for the location you plan to shoot from will help you set up your shots.
Do your research beforehand and learn about constellations before you head out, such as the Big Dipper and Orion.
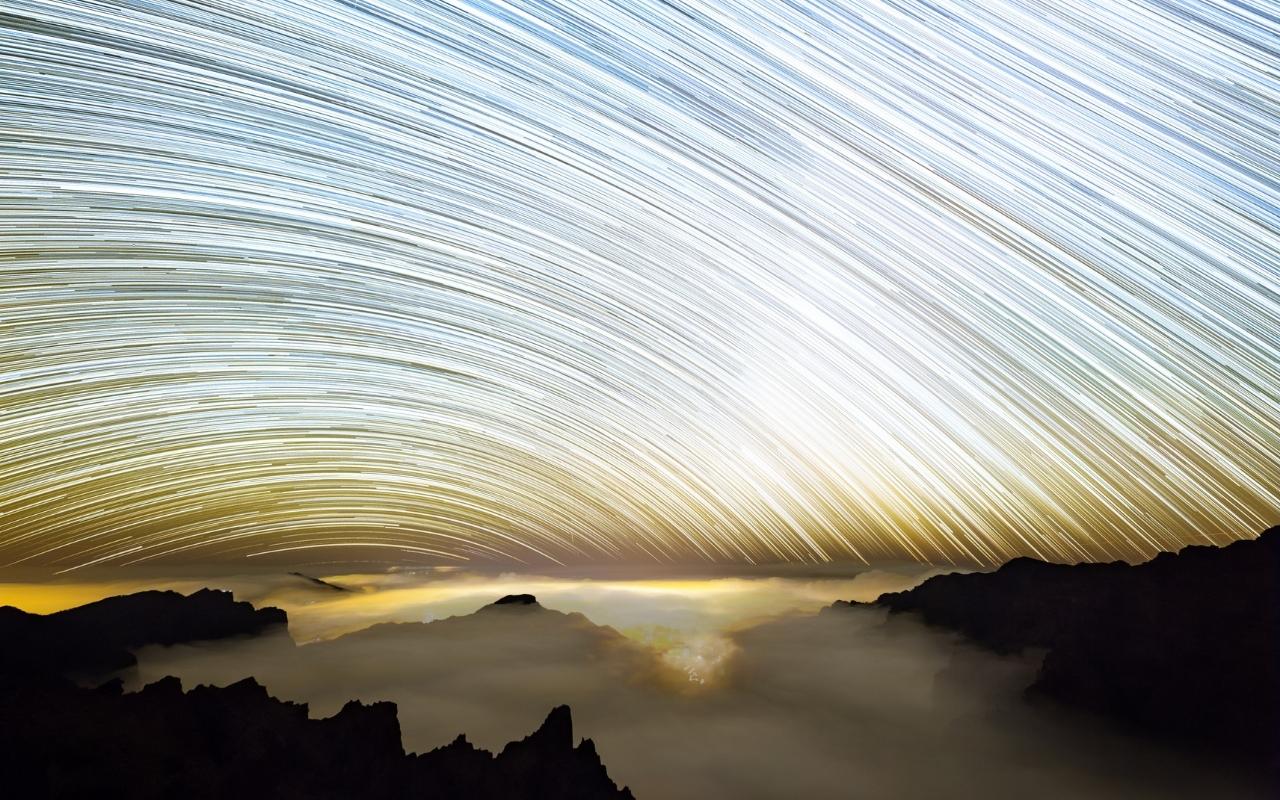
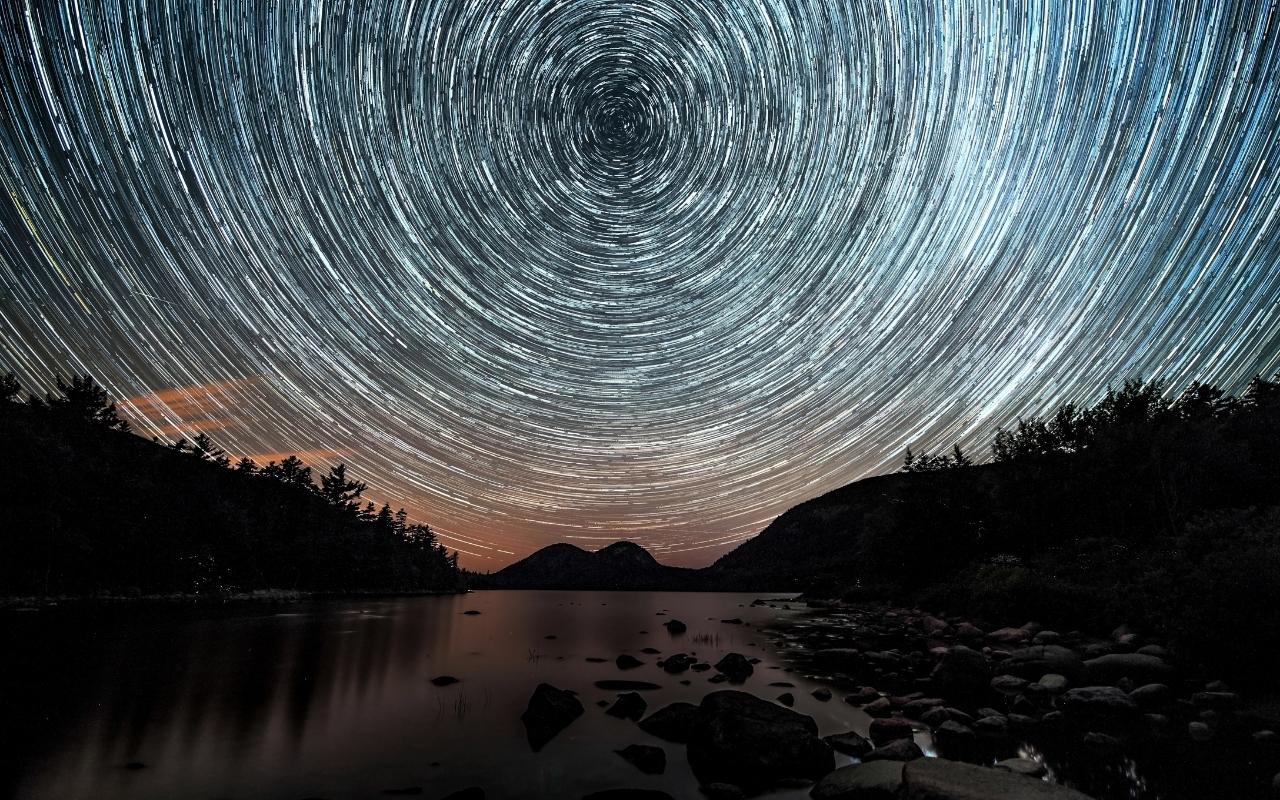
Your star trail patterns will look different depending on where your camera is pointing in the sky. In the Northern Hemisphere, find Polaris (also known as the North Star) to determine the "centre" of your trail. Use the south celestial pole if you're in the Southern Hemisphere. Aiming at these areas will produce circular light lines within your photos while pointing east or west will create straighter star lines.
Leave your camera shutter open for an extended amount of time to capture long exposure images — they can capture minutes' to hours' worth of stars moving across the night sky. We recommend at least 30 minutes, but an hour and a half to two hours is better. The longer, the better!
You'll have to be extra careful of any camera movement with long exposures. You can easily ruin a single shot with a bump to the tripod. And, since more light will hit your camera sensor, you may have to do some long exposure noise reduction in editing.

You can also use short exposure to capture star trails. Create short exposure star trail images with a series of shorter night sky shots, like hundreds of 30-second exposures. Place them on top of each other to make one single image of the stars' movement over the course of all your shots.
But before letting your camera take so many pictures, we recommend taking a test shot or two with manual focus and settings adjustments. You want to make sure your settings are correct first, so you don't end up with many unusable images in post-production.
More tips for Star Trail Photography:
Be patient. The longer the shutter is help down, the greater the rotation of the stars.
Set your camera to continuous drive mode and attach a cable release, enabling you to capture the star trail over time.
A great tip is to practise in your garden beforehand to get to grips with settings while some warm shelter is nearby!
Do your research beforehand and learn about constellations before you head out, such as the Big Dipper and Orion.
