
10 Hidden Tips for Lightroom
Jun 26, 2021
Adobe Lightroom is, without any doubt, one of the most popular photo development software currently available. As such, it is packed with tons of tools and settings that are more or less known to most photographers. But what if we tell you that some convenient features are not known even by the most experienced photo editors? Let us share with you our favourite ten hidden tips and tricks in Lightroom Classic.
10 Hidden Tips & Tricks for Adobe Lightroom
- Solo Mode
- Auto Tone
- Lightroom With Your Own Logo
- Panel Reset
- Smoother Curve Adjustments
- Radial Filter Center Snap
- Live On-Image Clipping
- Lights Out for Editing
- Auto Match the Exposure
- Local Adjustments Strenght Slider

1. Solo Mode
If you typically edit with all the panels open at once, the scrolling can get difficult. This is especially true if you’re usually doing your photography editing from a laptop, but even on a large monitor, the interface can start to feel distracting.
That’s where Solo Mode becomes useful. This Lightroom feature makes for a cleaner editing experience because it closes all panels except for the one you are currently using. Once you’re ready to work in another panel, click on it, and it will expand.
You can turn on the solo mode by right-clicking any panel heading and selecting it from the dropdown menu. It may sound like a basic Lightroom editing tip, but it makes a huge difference!
2. Auto Tone
You might write off using the Auto Tone button, which automatically adjusts your exposure, blacks, brightness, and contrast because the results can look heavy-handed.
A great Lightroom editing tip is just using the results you get as a guide. You can note the adjustments, reset the image, and then make your own adjustments that are a little more fine-tuned. You’ll find this can really speed up your editing time because you’ll spend less time fiddling with each setting to see how it affects your image.
The Auto Tune button is in the Library module, and you can access this handy button right from the Quick Develop panel.
3. Lightroom With Your Own Logo
Have you noticed other photographers having their own logo in Lightroom Classic? This "fancy" function is called "Identity Plate", and it can be easily created in few simple steps.
This little known Lightroom feature doesn’t help with workflow, but it’s awesome if you have a photography business. If you ever use Lightroom to go through images with your clients, it’s a very nice touch to increase professionalism. Keeping it professional is always a good idea for your client relations!
The setup is simple - go to Lightroom > Identity Plate > Personalized, and you’ll be able to either upload a PNG with your logo or type in your company name and select the font in which you want it displayed. It’ll appear in the top left of your workspace.
4. Panel Reset
How often do you make a bunch of adjustments in a panel only to realize you’re not happy with the direction it's going in, and you want to start again? Resetting each slider can be time-consuming, which is why you’ll definitely want to add this Lightroom trick to your arsenal.
You’ll be using the handy alt/option (Alt for Windows/Option for Mac) - press it and take a look at the panel you’re working in. You’ll see a reset button appear at the top, which you can press to set all the sliders back to their original position.
5. Smoother Curve Adjustments
This tip is for everyone who, like us, finds some of the Lightroom tools super sensitive. It’s a common complaint, especially if you do most of your work from a laptop or smaller screen.
The curves panel can be a handy tool, but it’s a tiny window to work in.
Here is how it works: hold down the alt/option (Alt for Windows/Option for Mac) key when you’re adjusting a curve. The sensitivity of your mouse or trackpad will decrease so that you can fine-tune your adjustments.

6. Radial Filter Center Snap
As part of the local adjustment tools, the radial filter can really make a difference in your photos. However, you may have noticed that these filters can feel difficult to work with, especially when adjusting their position.
Instead of dragging the filter around the frame trying to get it to look just right, you can hit the control key on Windows or Command on Mac, double click the pin that appears in the centre of the shape, and it will automatically pin the shape or filter to the centre of your image. This also works very well to create an additional vignetting with much more adjustments than a simple black and white frame.
7. Live On-Image Clipping
When processing your images, it's easy to get over the top with some of the settings and blow out parts of your image. What if we would tell you that there is a way to keep an eye on the clipping directly on your photo while editing.
The way to ensure that you’re not losing too much detail is to press the J key when you’re in the Develop module. Once you do that, you'll notice the red and blue marking on your photo. The red indicates where your highlights are blown out, and the blue indicates where you’ve lost all your detail in the shadows. This is a super handy way to see if you’re overdoing it so that you can adjust those sliders accordingly.
8. Lights Out for Editing
This is a simple but powerful Lightroom tip that you’ll find yourself using all the time.
Just press “L”, and the whole workspace will dim except for the image you’re working on. If you press it again, everything will turn black except your image. One more press will bring you back to normal.
This is surprisingly handy; since the interface can feel a bit busy sometimes, it really helps to look at your image without any distractions to decide if you’re done working on it or if it still needs a little more adjustment.
9. Auto Match the Exposure on Multiple Photos
Matching the exposure can be a bit tricky when working on multiple photos. You have to keep moving back and forward or placing the images next to each other and moving the exposure slider to adjust the brightness. It gets even trickier when you work on more than two images photos. Well, once again, we have a convenient tip on how you can do this with one simple click.
First, move to the Develop module and make sure to select all the photos you want to adjust in the select bar at the bottom of your screen. Multiple photos can be selected while holding the command/control key on your keyboard and using the mouse to click on the desired photos. Once you are done selecting your photos, navigate to the main toolbar on the top of your screen and go: Settings > Match Total Exposure.
10. Local Adjustments Strenght Slider
The final tip is for everyone who loves using the local adjustment tools in Lightroom. If you are like us and use the brush, graduated filter and radial filter for more than just exposure, you know that setting all the sliders correctly takes time. This is why we wish there would be a simple way to increase/decrease the desired effect of the tools without re-adjusting each slider individually. We are happy to tell you that there is a convenient way to do that in Lightroom.
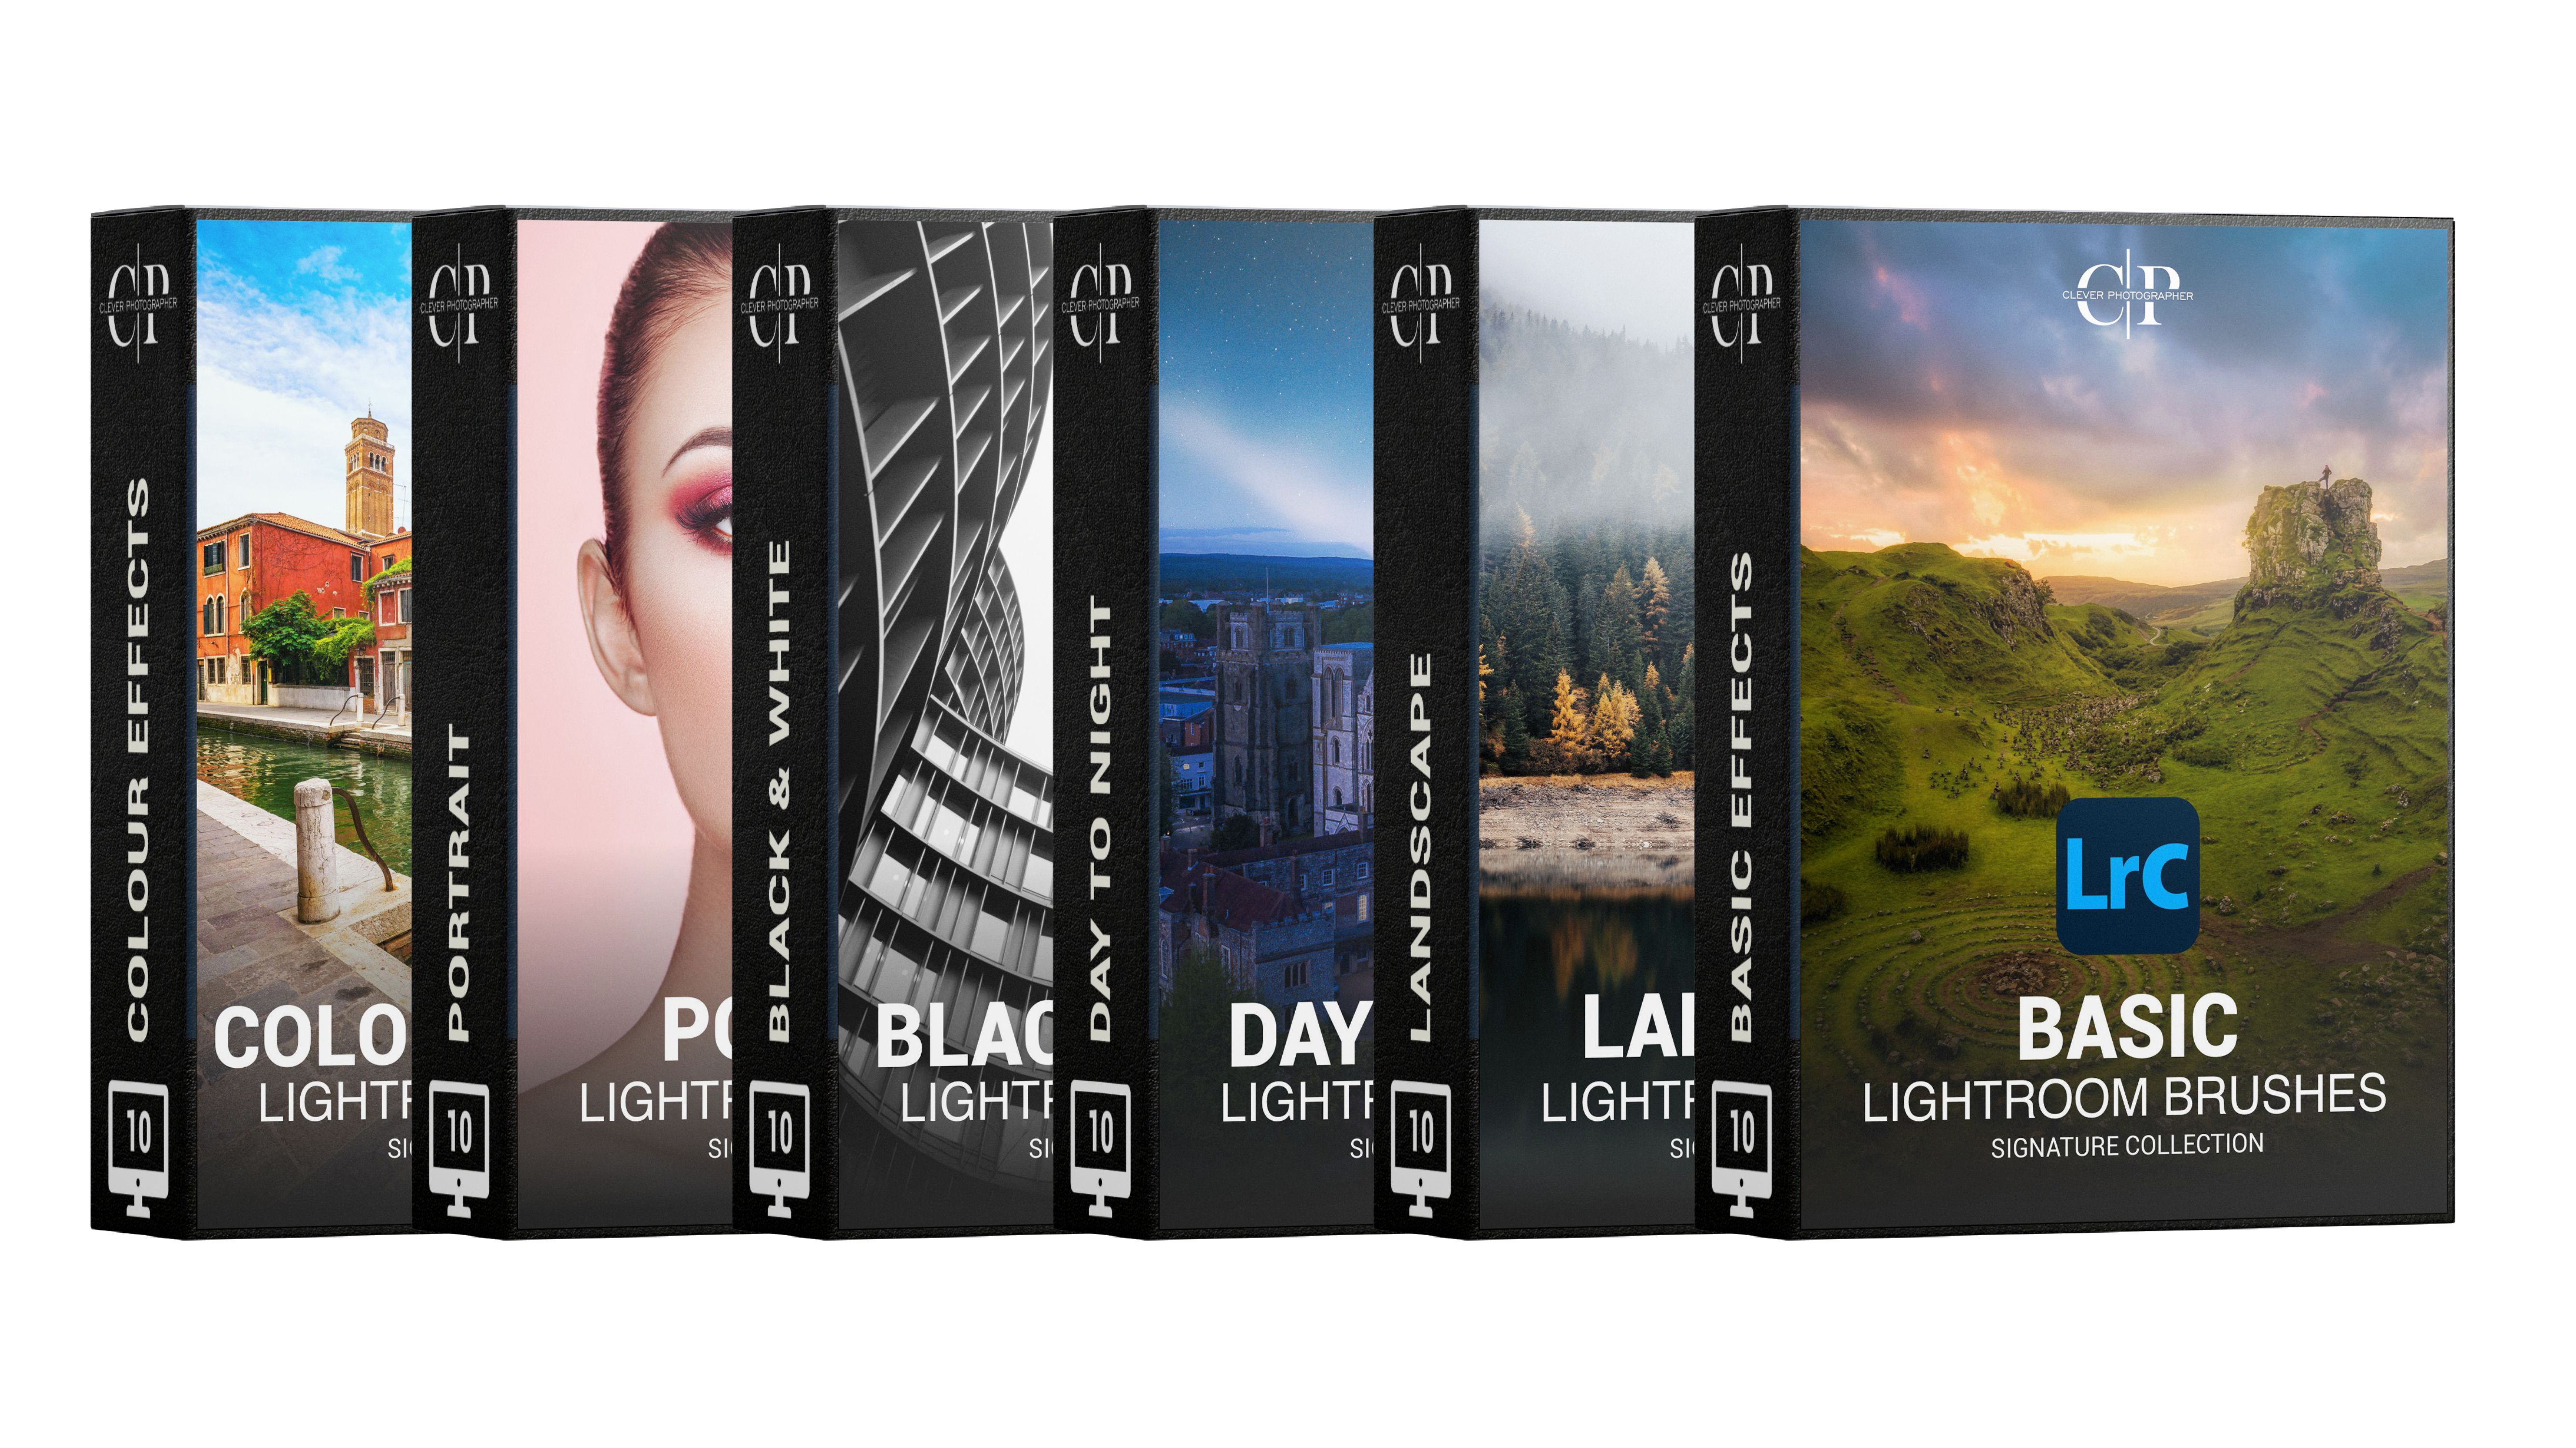
Are you struggling to get the most out of your local adjustment tools? Make sure to check out our Signature Lightroom Brush Bundle (Here) and get over 60 custom brushes with presets that can be used for all the local adjustment tools.
To adjust the strength of your local adjustment tool, first, make your adjustments and then apply them to the image with your favourite tool. Once applied, the tool will have a pin controller available at the image. With this pin, you can move the tools, adjust their size, copy them, etc. Now what you need to do is hover over the pin while holding the option/alt key on your keyboard. This will change your cursor icon into a slider. Next, keep holding the alt key and slide right or left depending on whether you want to decrease or increase the editing effect. Once you do that, you will notice all the sliders moving simultaneously until you hit 100% with one of the sliders.

Free Guide to Lightroom
Lightroom is not a difficult program to learn for beginners, and even with limited experience, you can drastically improve the look of a photo with the most basic Lightroom adjustments. Get our free Complete Guide to Lightroom (Here) and speed up the learning process to start pushing your skills forward today.
The End
That's it for today, but if you need any help, make sure to contact us directly, and we will do our best to help.
#StaySafe - Jakub Bors
@CleverPhotographer | @BorsPhotography

