
Aperty: How to use Noise Reduction tool
Oct 03, 2024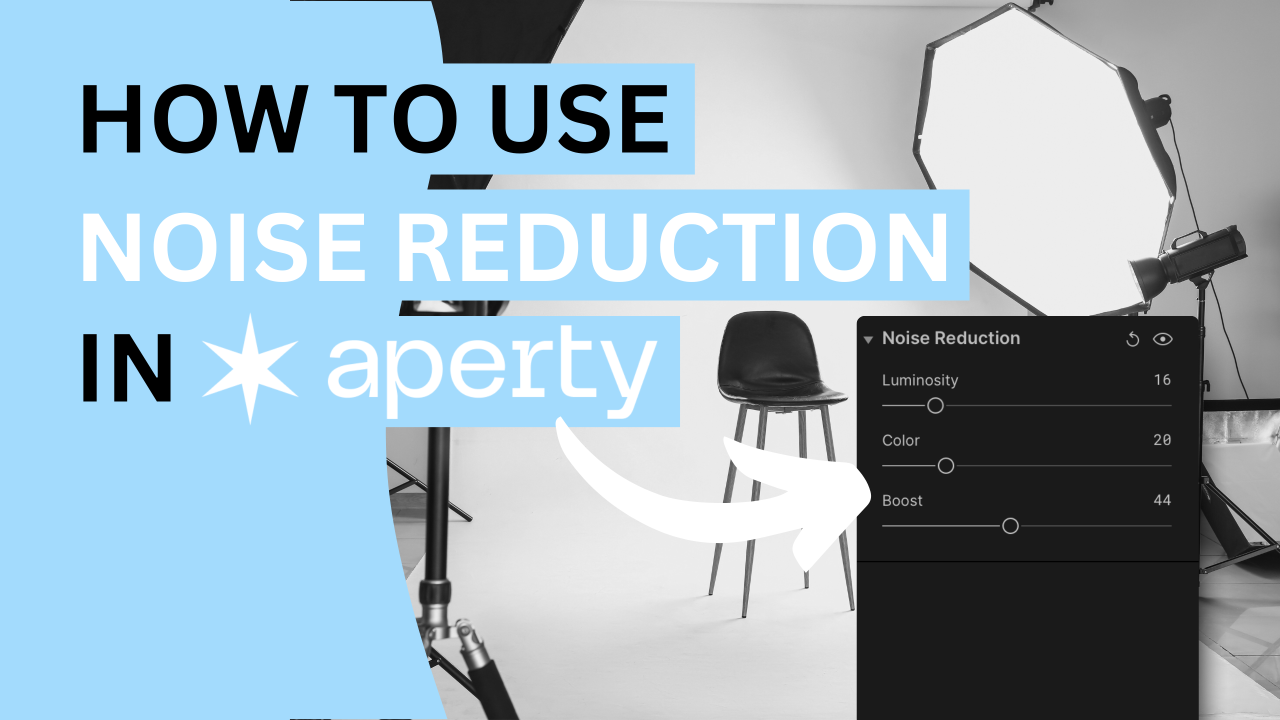
Say goodbye to grainy portraits with the Noise Reduction tool in Aperty! Whether you're working with low light or high ISO settings, this tool smooths out unwanted noise while keeping your subject's details crisp and natural. It's your secret weapon for clean, polished portraits every time!
🎓 Learn everything there is to know about Aperty with our Aperty Masterclass 👉 Learn More
🛒 TIP: Speed up your portrait editing with our Professional Portrait LUT Bundle 👉 Learn More
📸 Aperty: Find out more about Aperty 👉 Here
In this article:
- What is the Noise Reduction Tool
- Introducing Noise Reduction Tool controllers
- Getting started with the Noise Reduction tool
- Aperty
What is the Noise Reduction Tool
The Noise Reduction tool in Aperty is designed to minimize unwanted noise in your portrait photos, particularly in images captured in low light or with high ISO settings. Noise can appear as grain or colour speckles, which can detract from the smoothness and quality of a portrait. The Noise Reduction tool helps to remove these imperfections while preserving essential facial details and textures.
📍TIP: Using the Noise Reduction feature can result in a loss of sharpness in your images. That's why it's a good practice to use the Noise Reduction tool in combination with the Sharpen tool in Aperture. To learn more about the Sharpen tool, you can read the blog.
Introducing Noise Reduction Controllers
Luminosity Slider
Reduces brightness noise, commonly appearing as grain in darker areas of your portrait.
Radius Slider
Targets unwanted colour speckles, often seen as random coloured dots in shadowed areas.
Preserve Textures Slider
Enhances the overall noise reduction effect, balancing smoothness and detail preservation, resulting in clearer portraits without losing sharpness.
Getting Started with the Noise Reduction Tool
- Select your project in the Project Manager and double-click to open it in the Editing module.
- Choose the image you want to edit from the Film Strip at the bottom of the application.
- Navigate to the Main Editing Toolbar and click the icon with three sliders to access the Essentials section.
- Open the Noise Reduction tool by clicking its name or the triangle next to it.
- Zoom in to at least 100% for a better view of the noise in your image.
- Adjust the Luminosity slider to adjust the level of noise in the image.
- If necessary use the Boost slider to apply even more Noise Reduction to your image.
- Optionally, use the Color slider to remove any colour speckles or noise in your image.
- At any point, click the Eye icon to compare the before and after results.
Aperty Portrait Editor
Aperty is an advanced portrait photo editing software designed to simplify and accelerate the process of retouching portraits. It features AI-powered tools for tasks like blemish removal, skin smoothing, makeup application, and facial reshaping, all while maintaining natural beauty. With its user-friendly interface, batch editing capabilities, and support for plug-ins, Aperty allows photographers to achieve professional-quality results quickly. Developed in collaboration with photographer Julia Trotti, Aperty offers one-click presets, precise human detection, and automation, making it an efficient solution for high-volume portrait editing workflows.
Learn more about Aperty here.
Get professional portrait LUTs here.

Written and published by: Jakub Bors | #BorsPhotography | www.borsphoto.com
